Home
About
Contact
Jack Clarke
Junior Developer | HNC Computing & IT
Game Development
Unity
Blender
C# Programming
2D/3D Modelling
Animation
Web Development
HTML
CSS
GitHub Pages
Logo Design
Photoshop
Claude AI
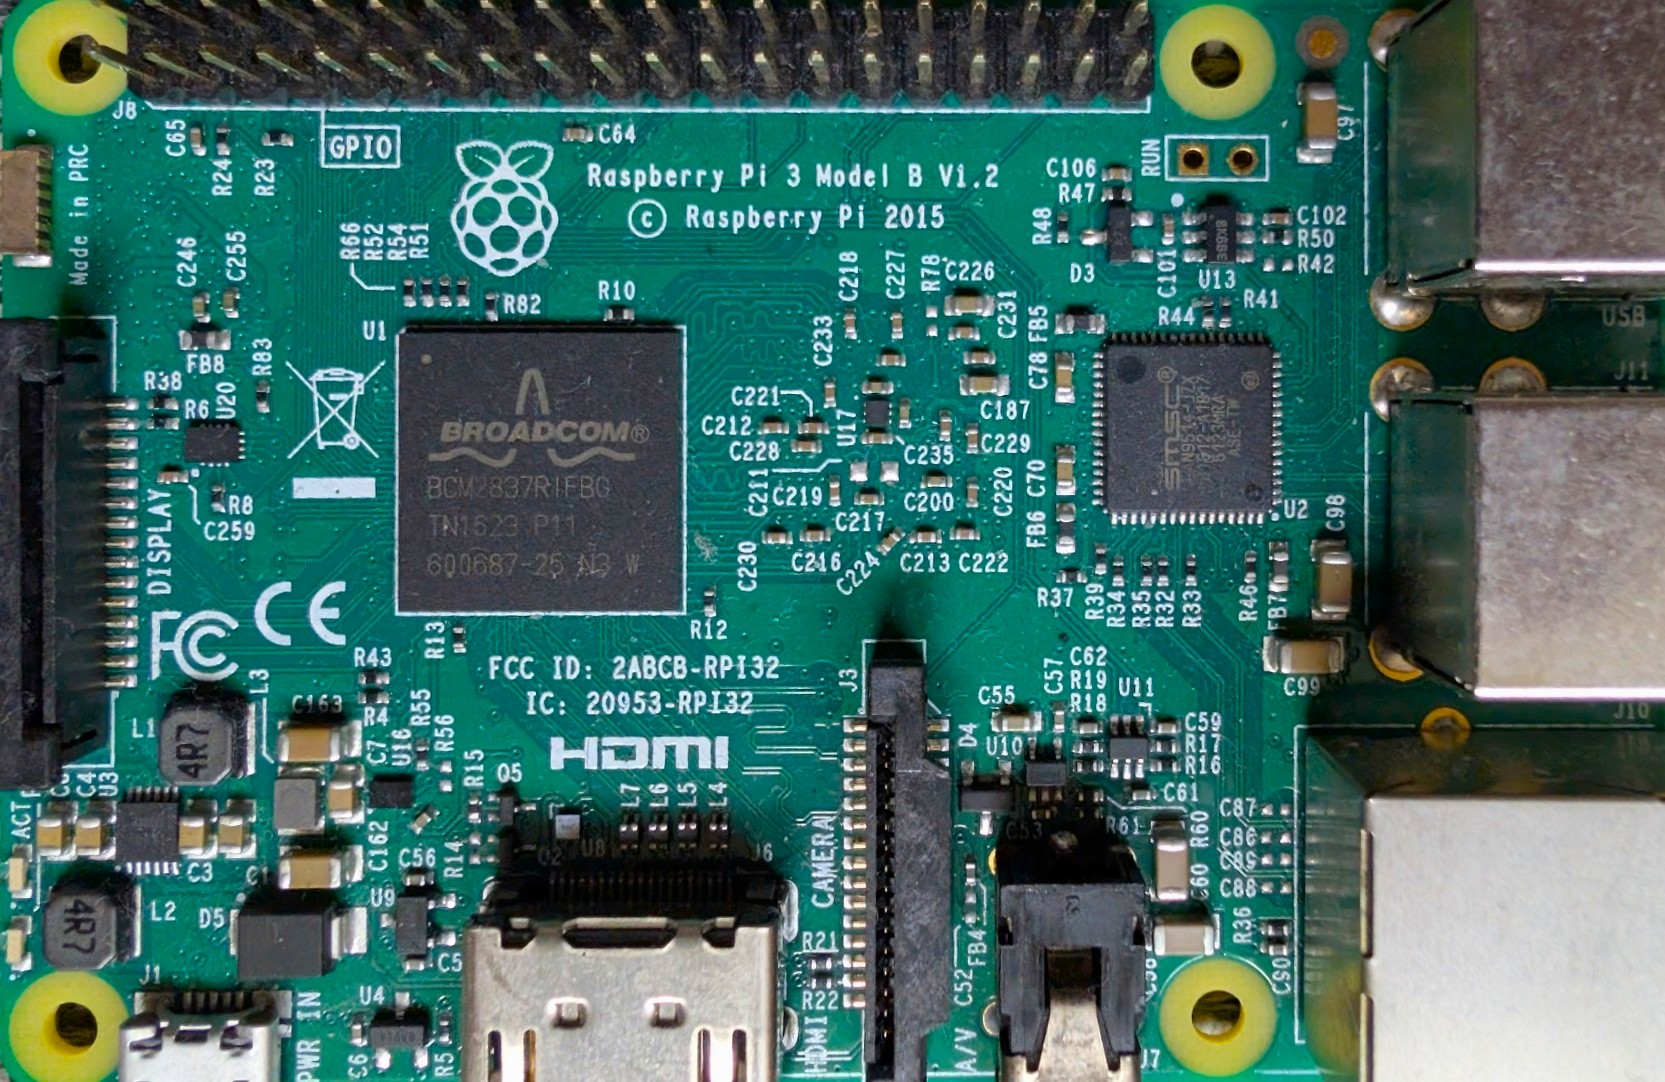
Hardware & SBC's
Cybersecurity
Linux
Arduino
Raspberry Pi
Custom Servers
Microcontrollers
Photography & Astrophotography
Photoshop
Lightroom
Black Magic
Image Stacking
Telescopes