Photography

Project 1
Project 2
Project 3
Project 3
Project 3
Project 3
▼ Blog ▼
Back to top

Photography Introduction – 07/07/2024

I’ve always been interested in photography. When I was in my 20’s my dad gave me his old Olympus DLSR and taught me the basics of the exposure triangle and how to take photos in manual mode. At the time I really enjoyed it, but unfortunately, the camera ended up gathering dust, and I eventually gave it back to my dad. As time went by and phone cameras improved, I began to enjoy photography again and wanted to step up to a DSLR and have another go at “proper” photography.

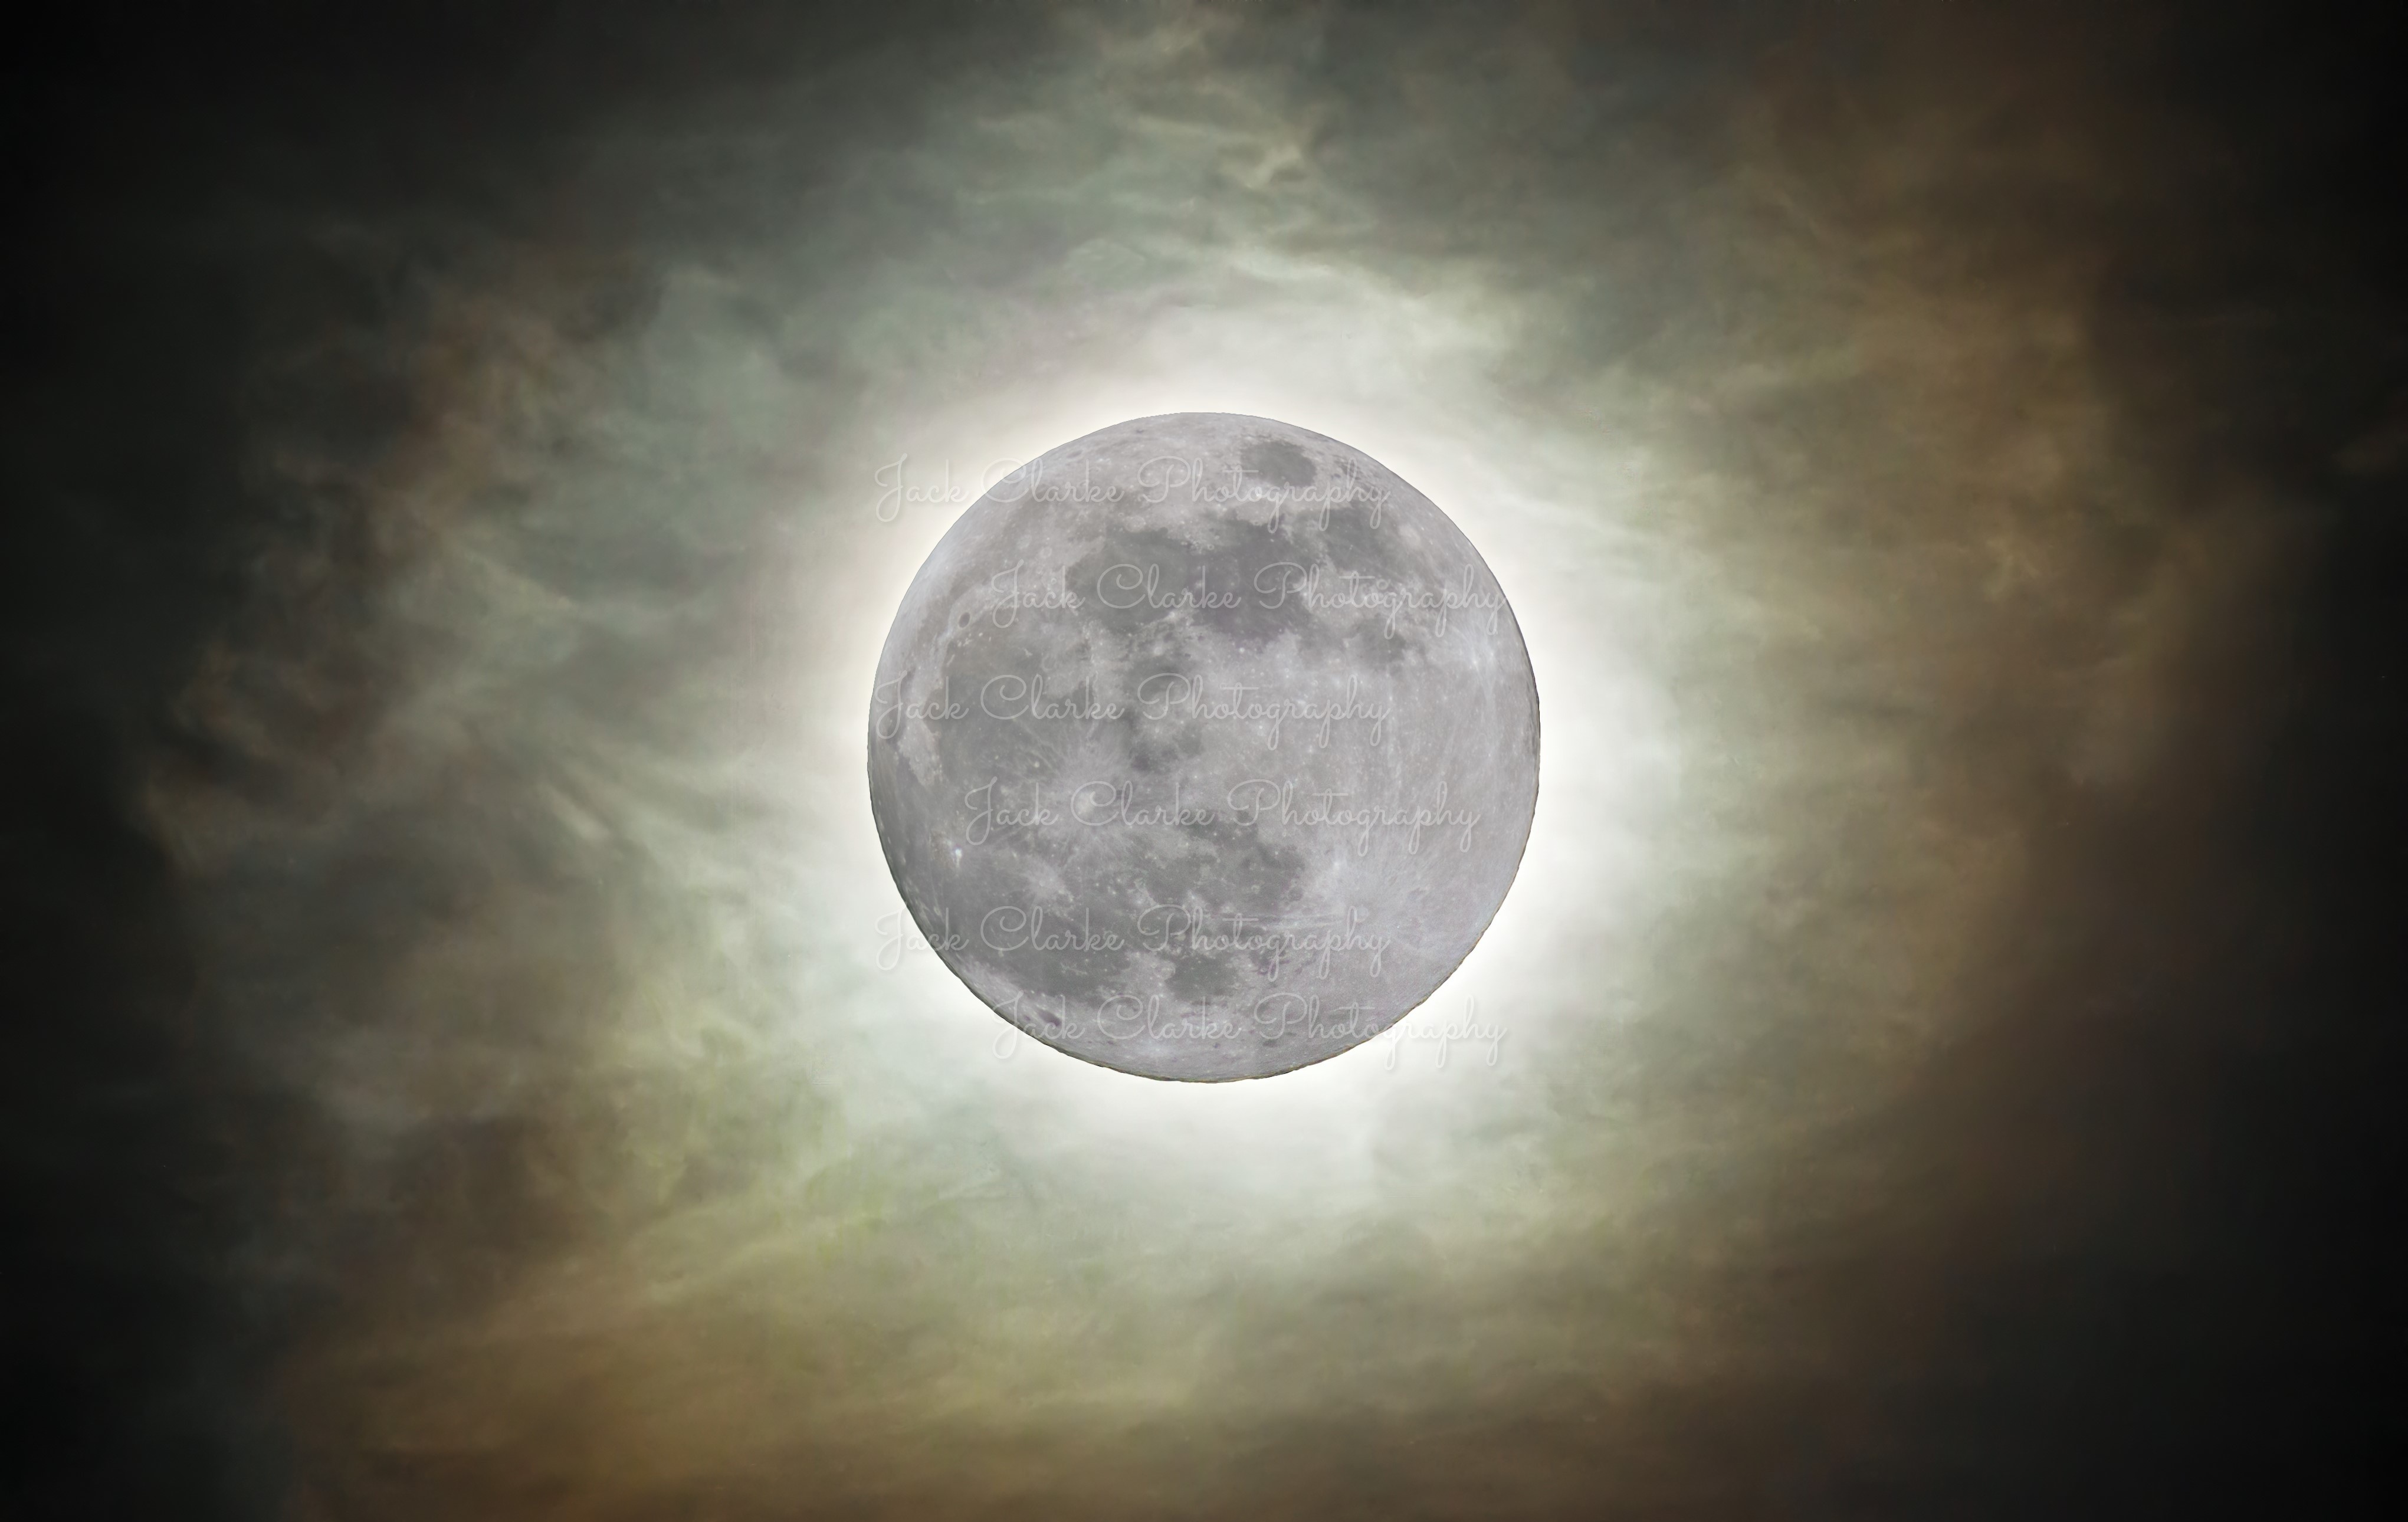
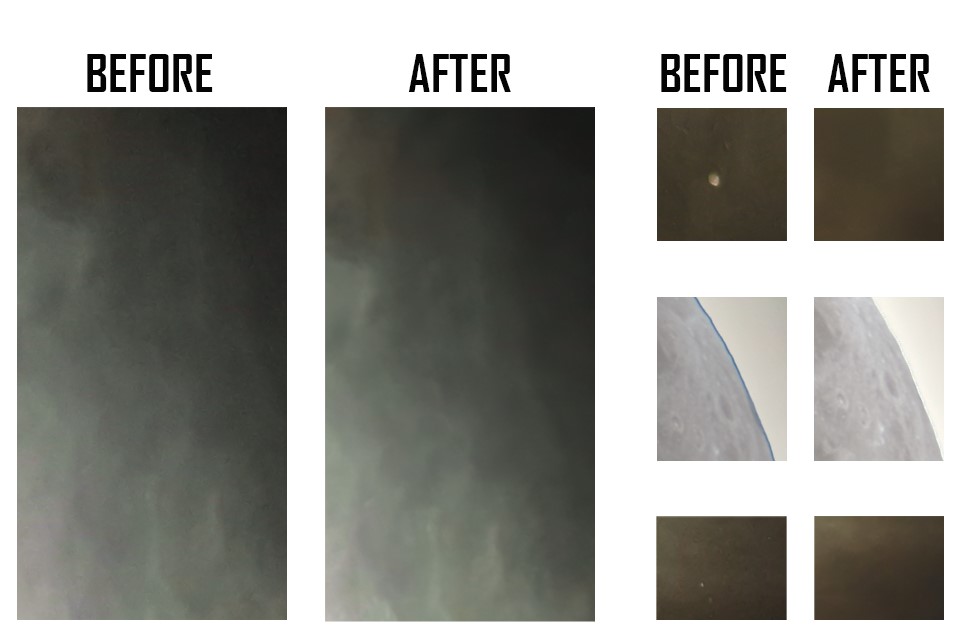
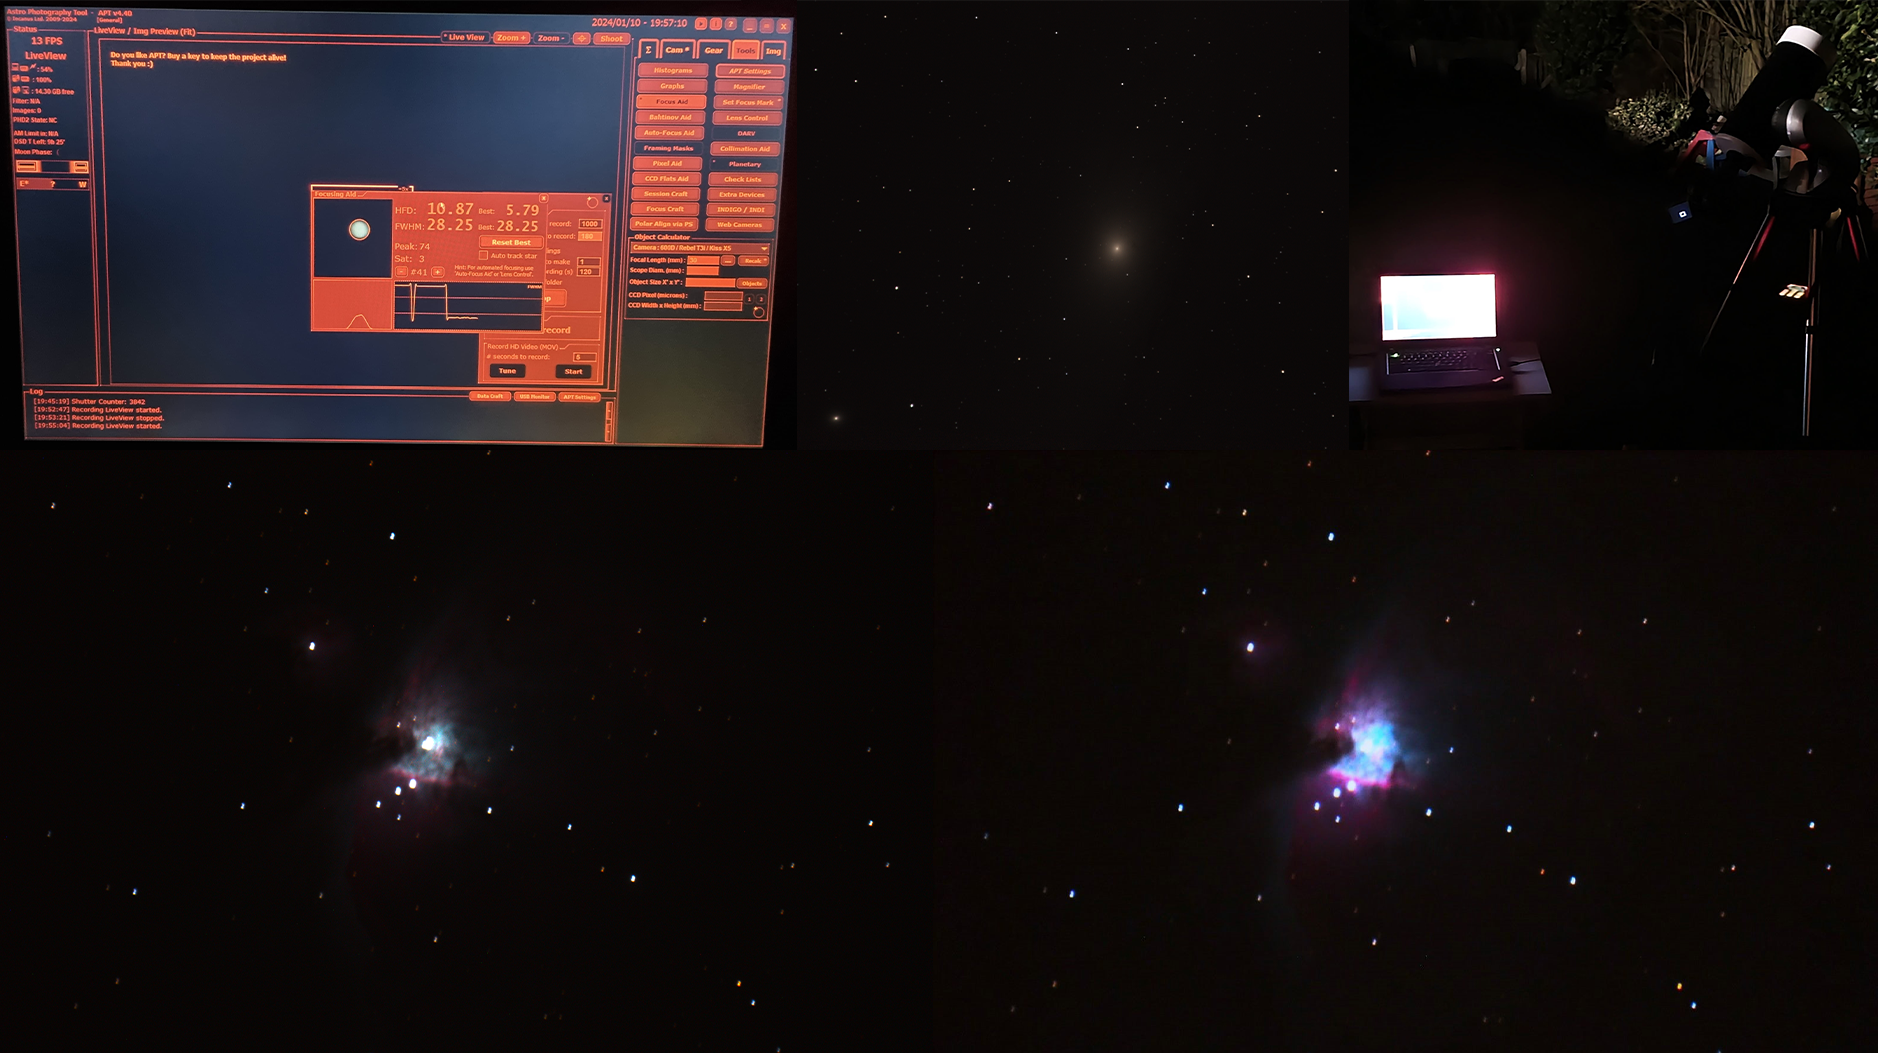
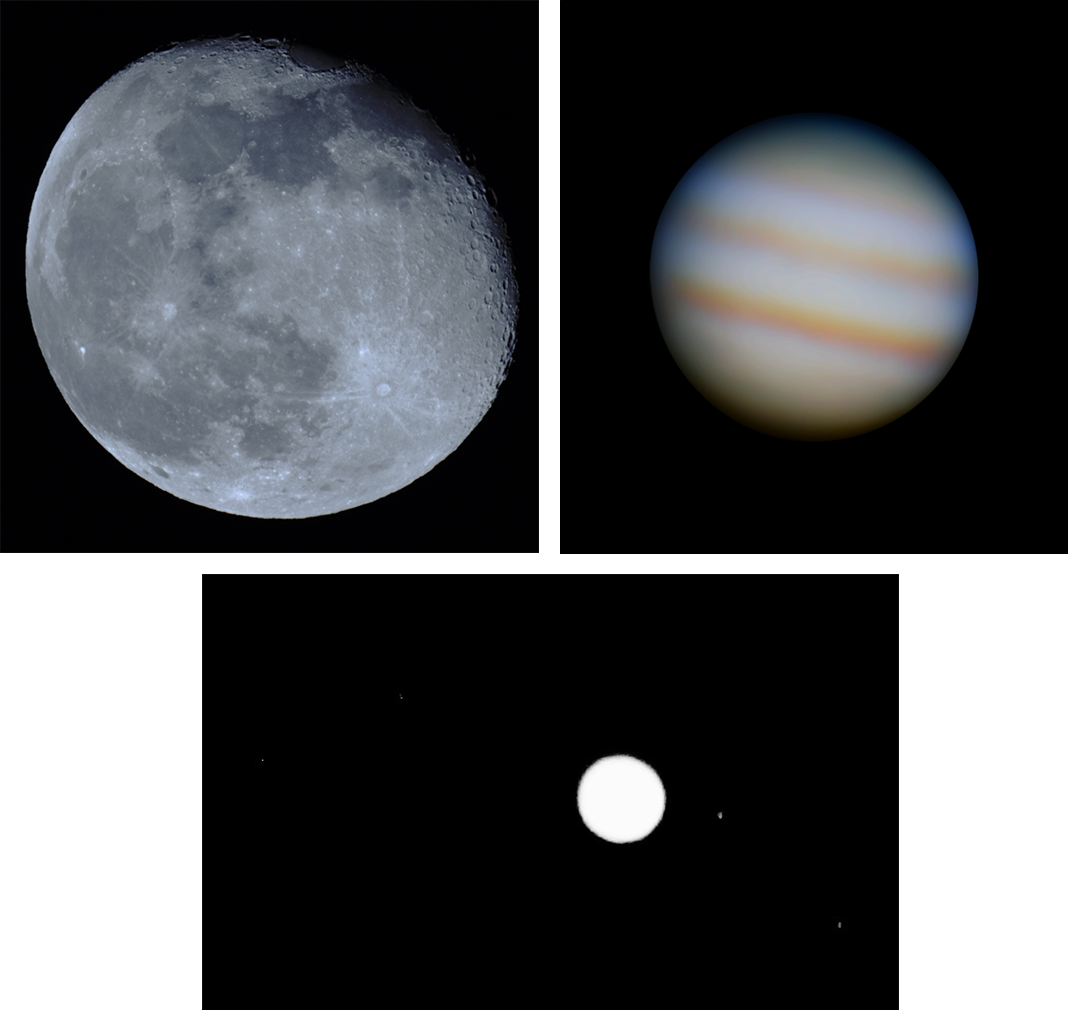
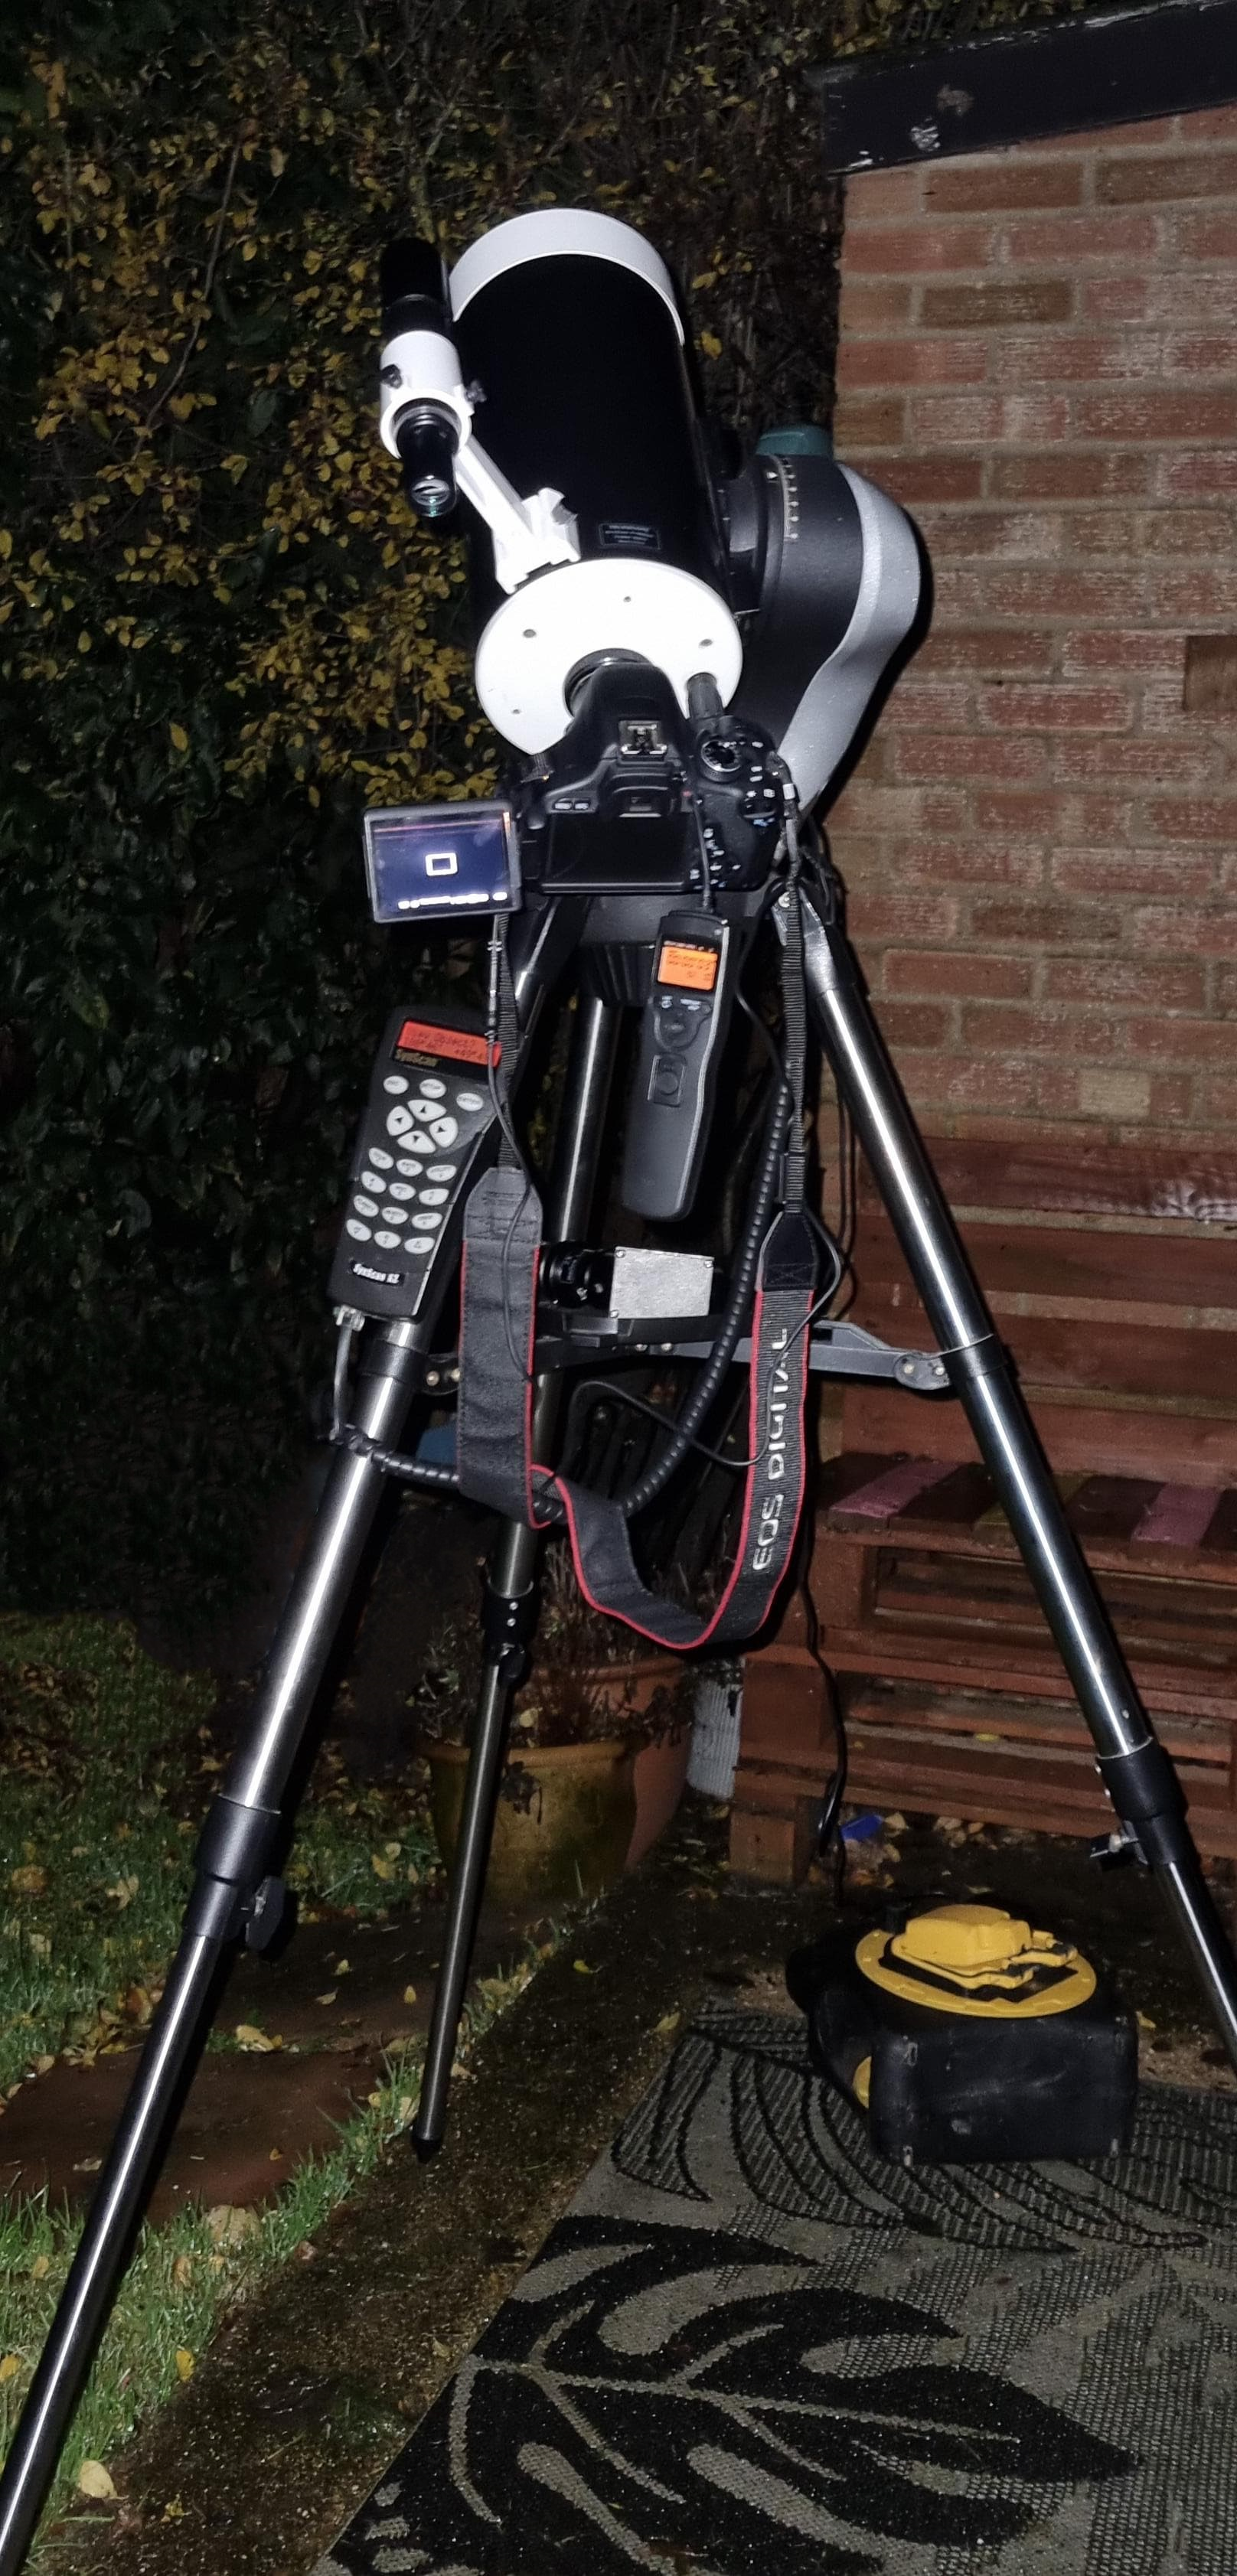
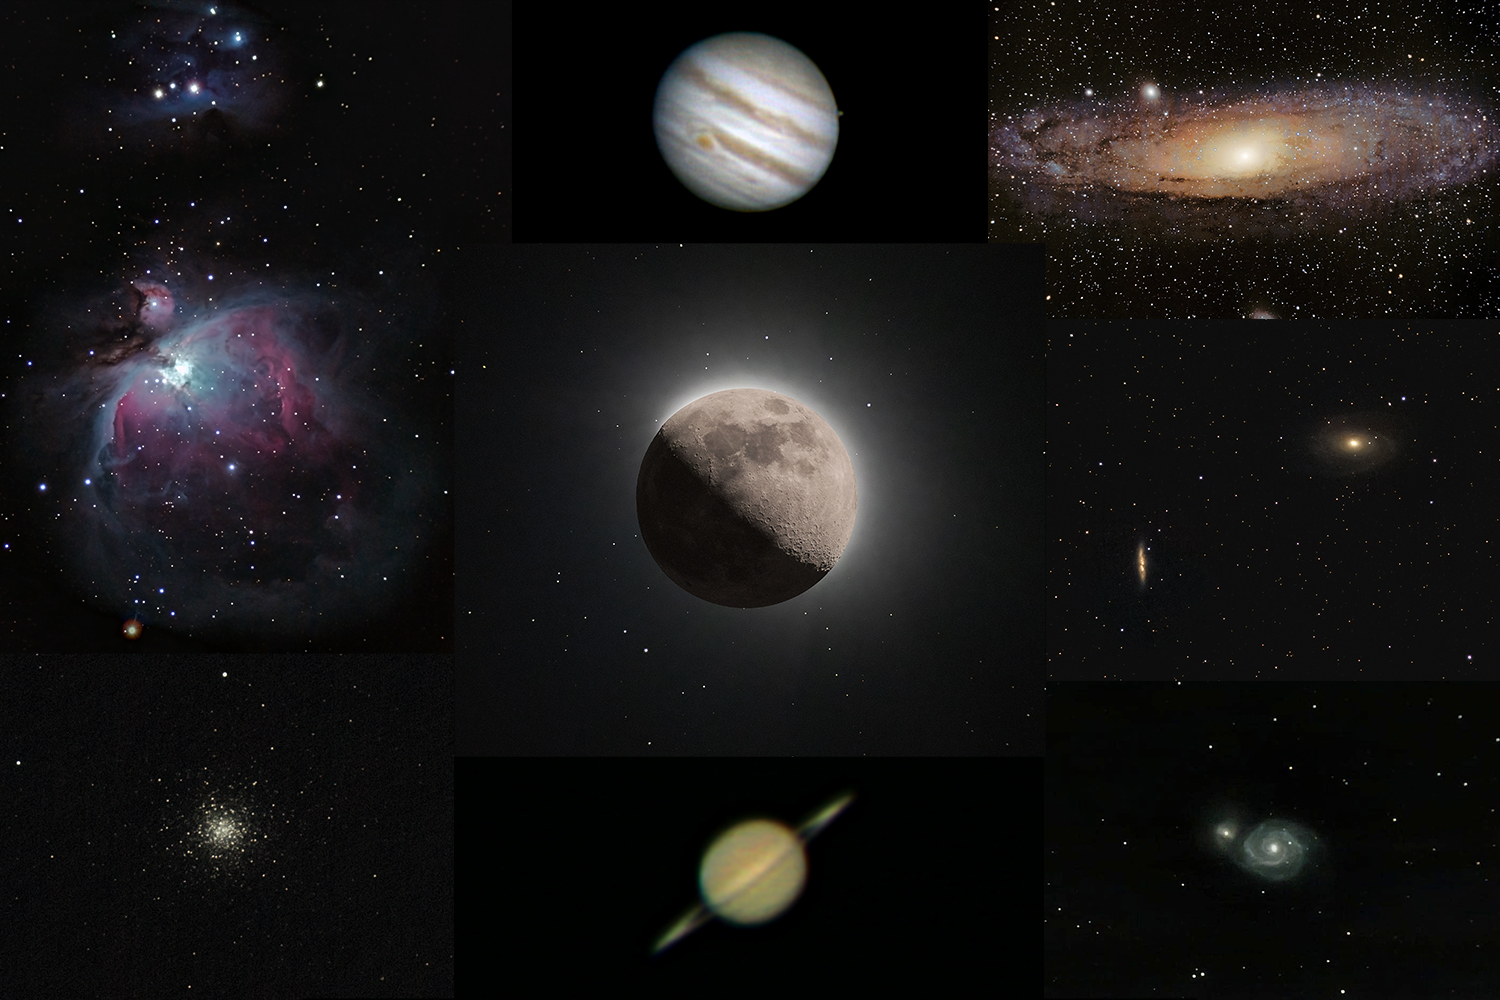
Initially, I was put off by the overwhelming amount of choices in camera bodies, lenses, cost, and terminology that comes with photography and decided against getting a DSLR for quite some time. This changed when I became interested in astrophotography, as I now had two reasons to get a DSLR. Fortunately, one of the recommended cameras for astrophotography was the Canon 600D (Rebel T3i), a very affordable camera body, and I got mine for a fantastic price!

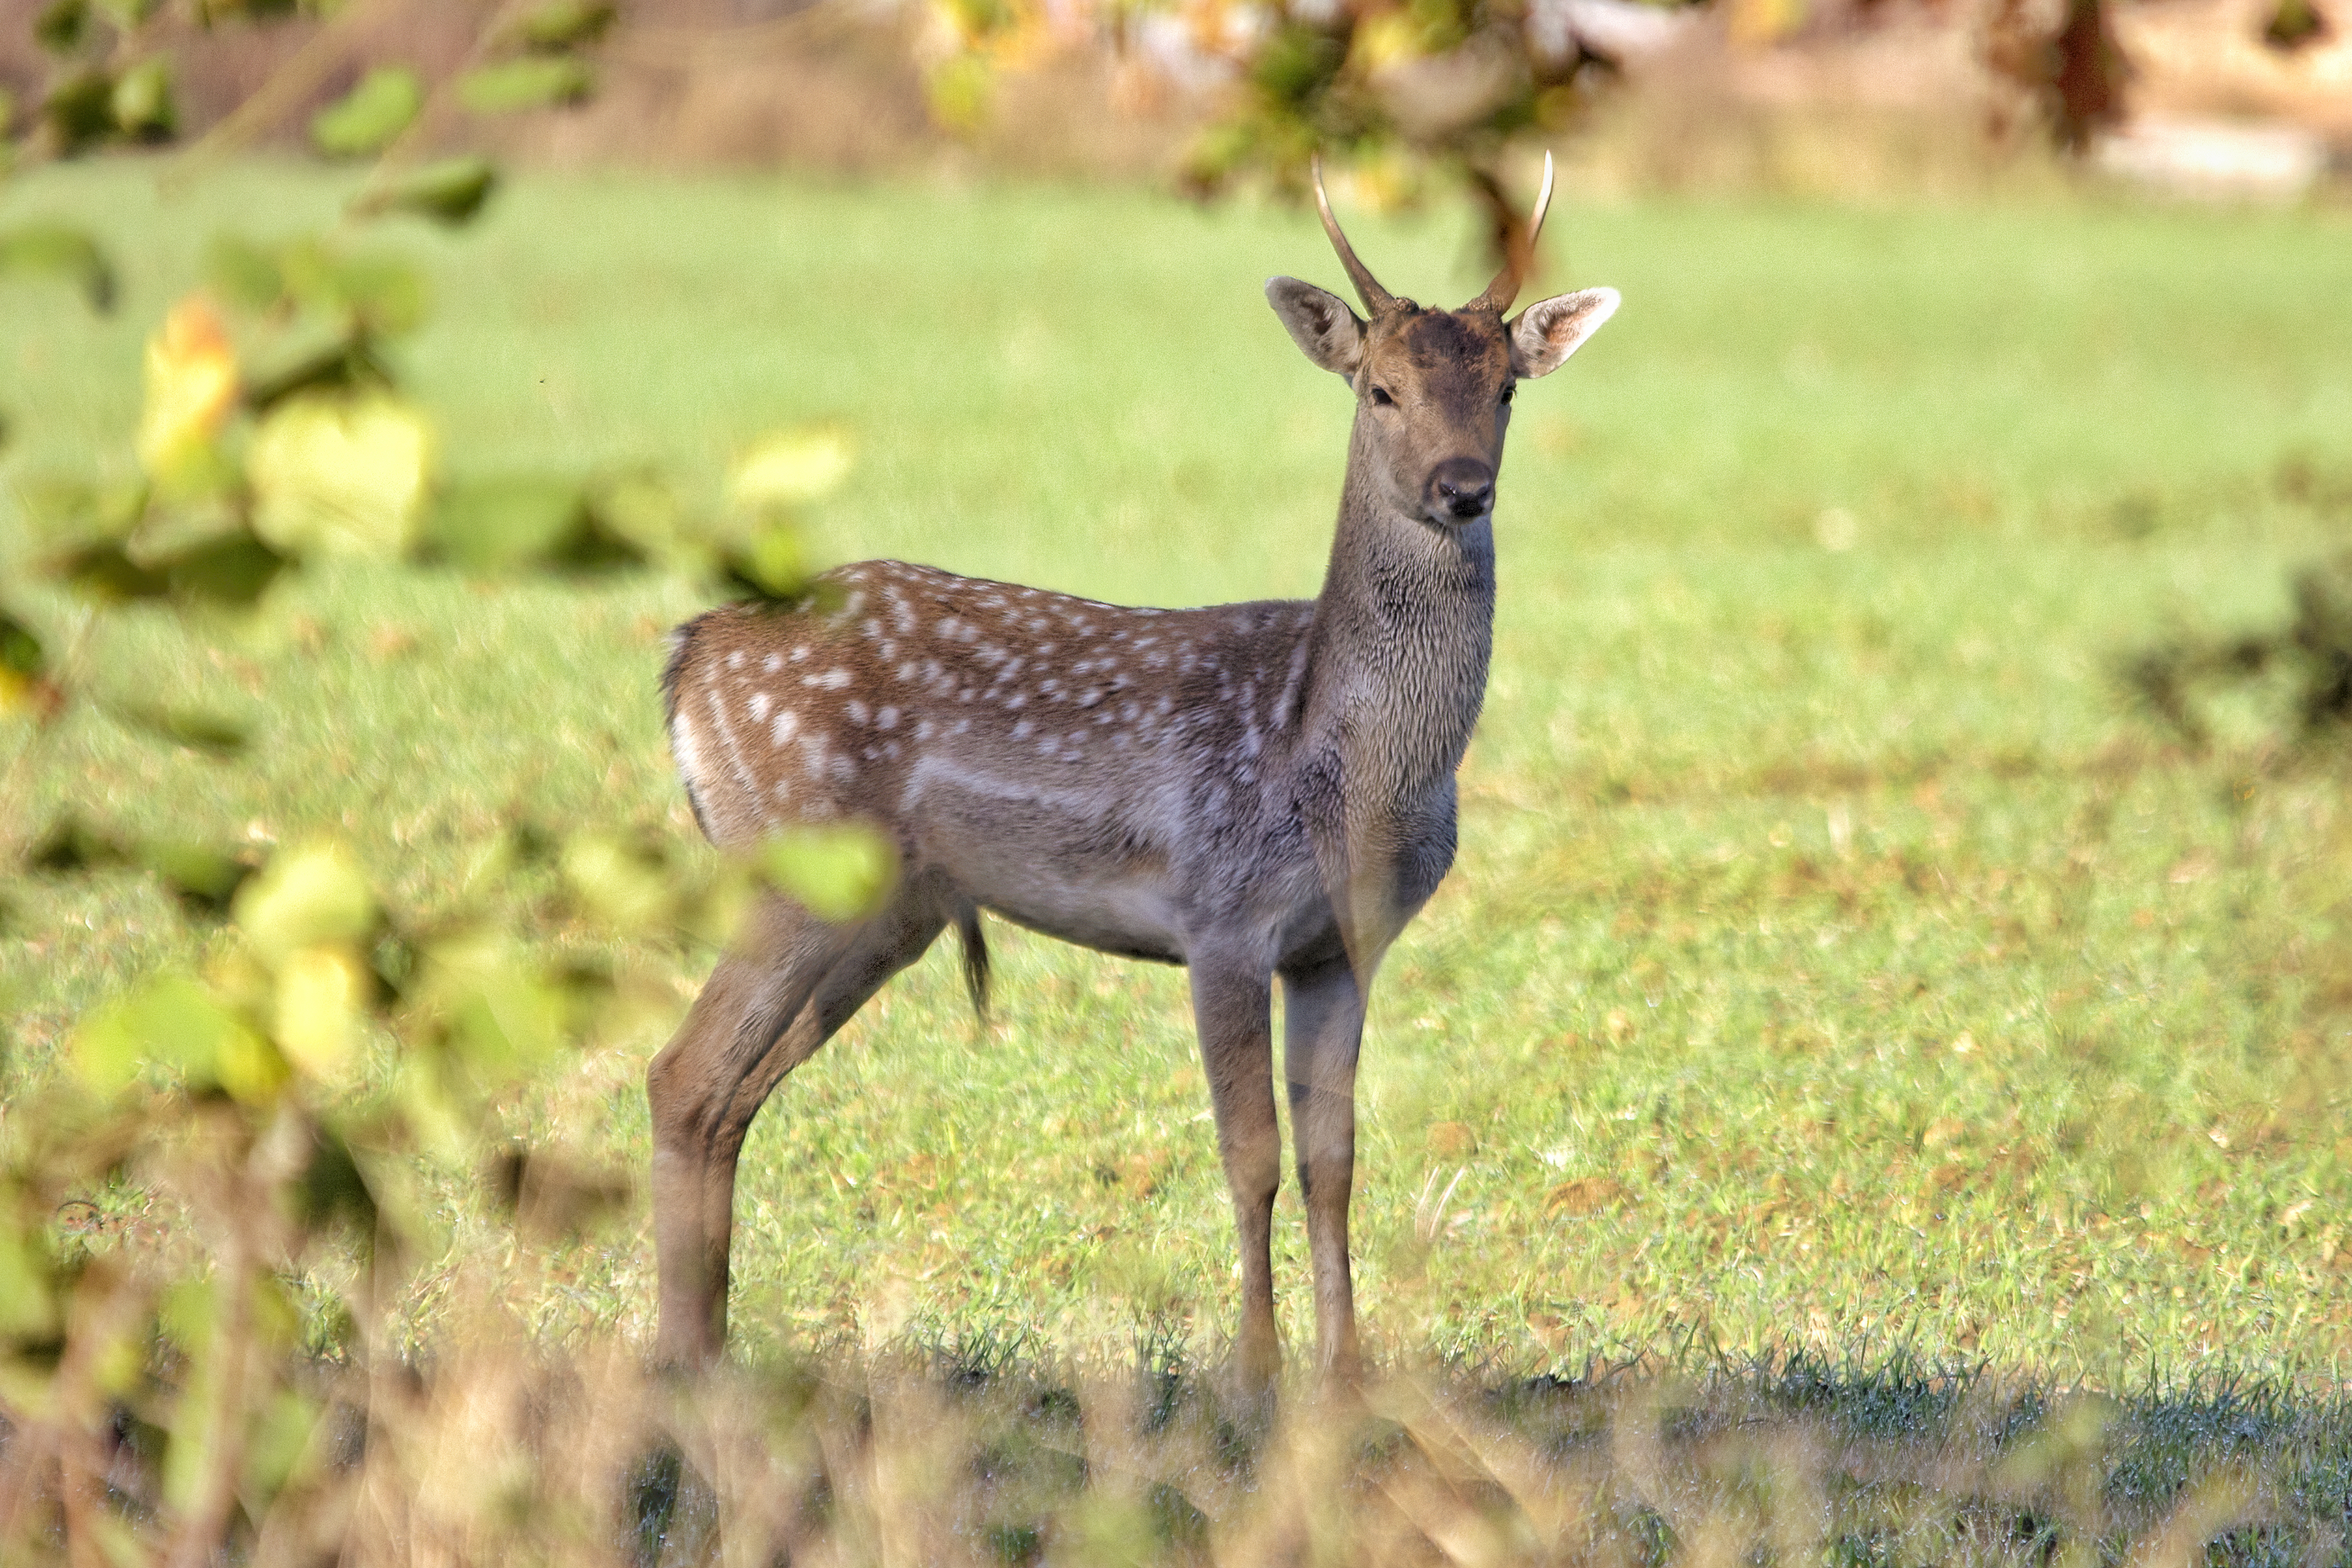
I used the camera for a few weeks solely for astrophotography and gave little thought to using it for regular photography. Eventually, my dad and nephew, who are both keen photographers, convinced me to get a lens for the camera and to practice some regular photography, and I’m very glad they did! Initially, I struggled to get decent shots due to inexperience and an inferior lens. But, after some experimentation and a few lenses bought and sold, I managed to start getting some acceptable shots.

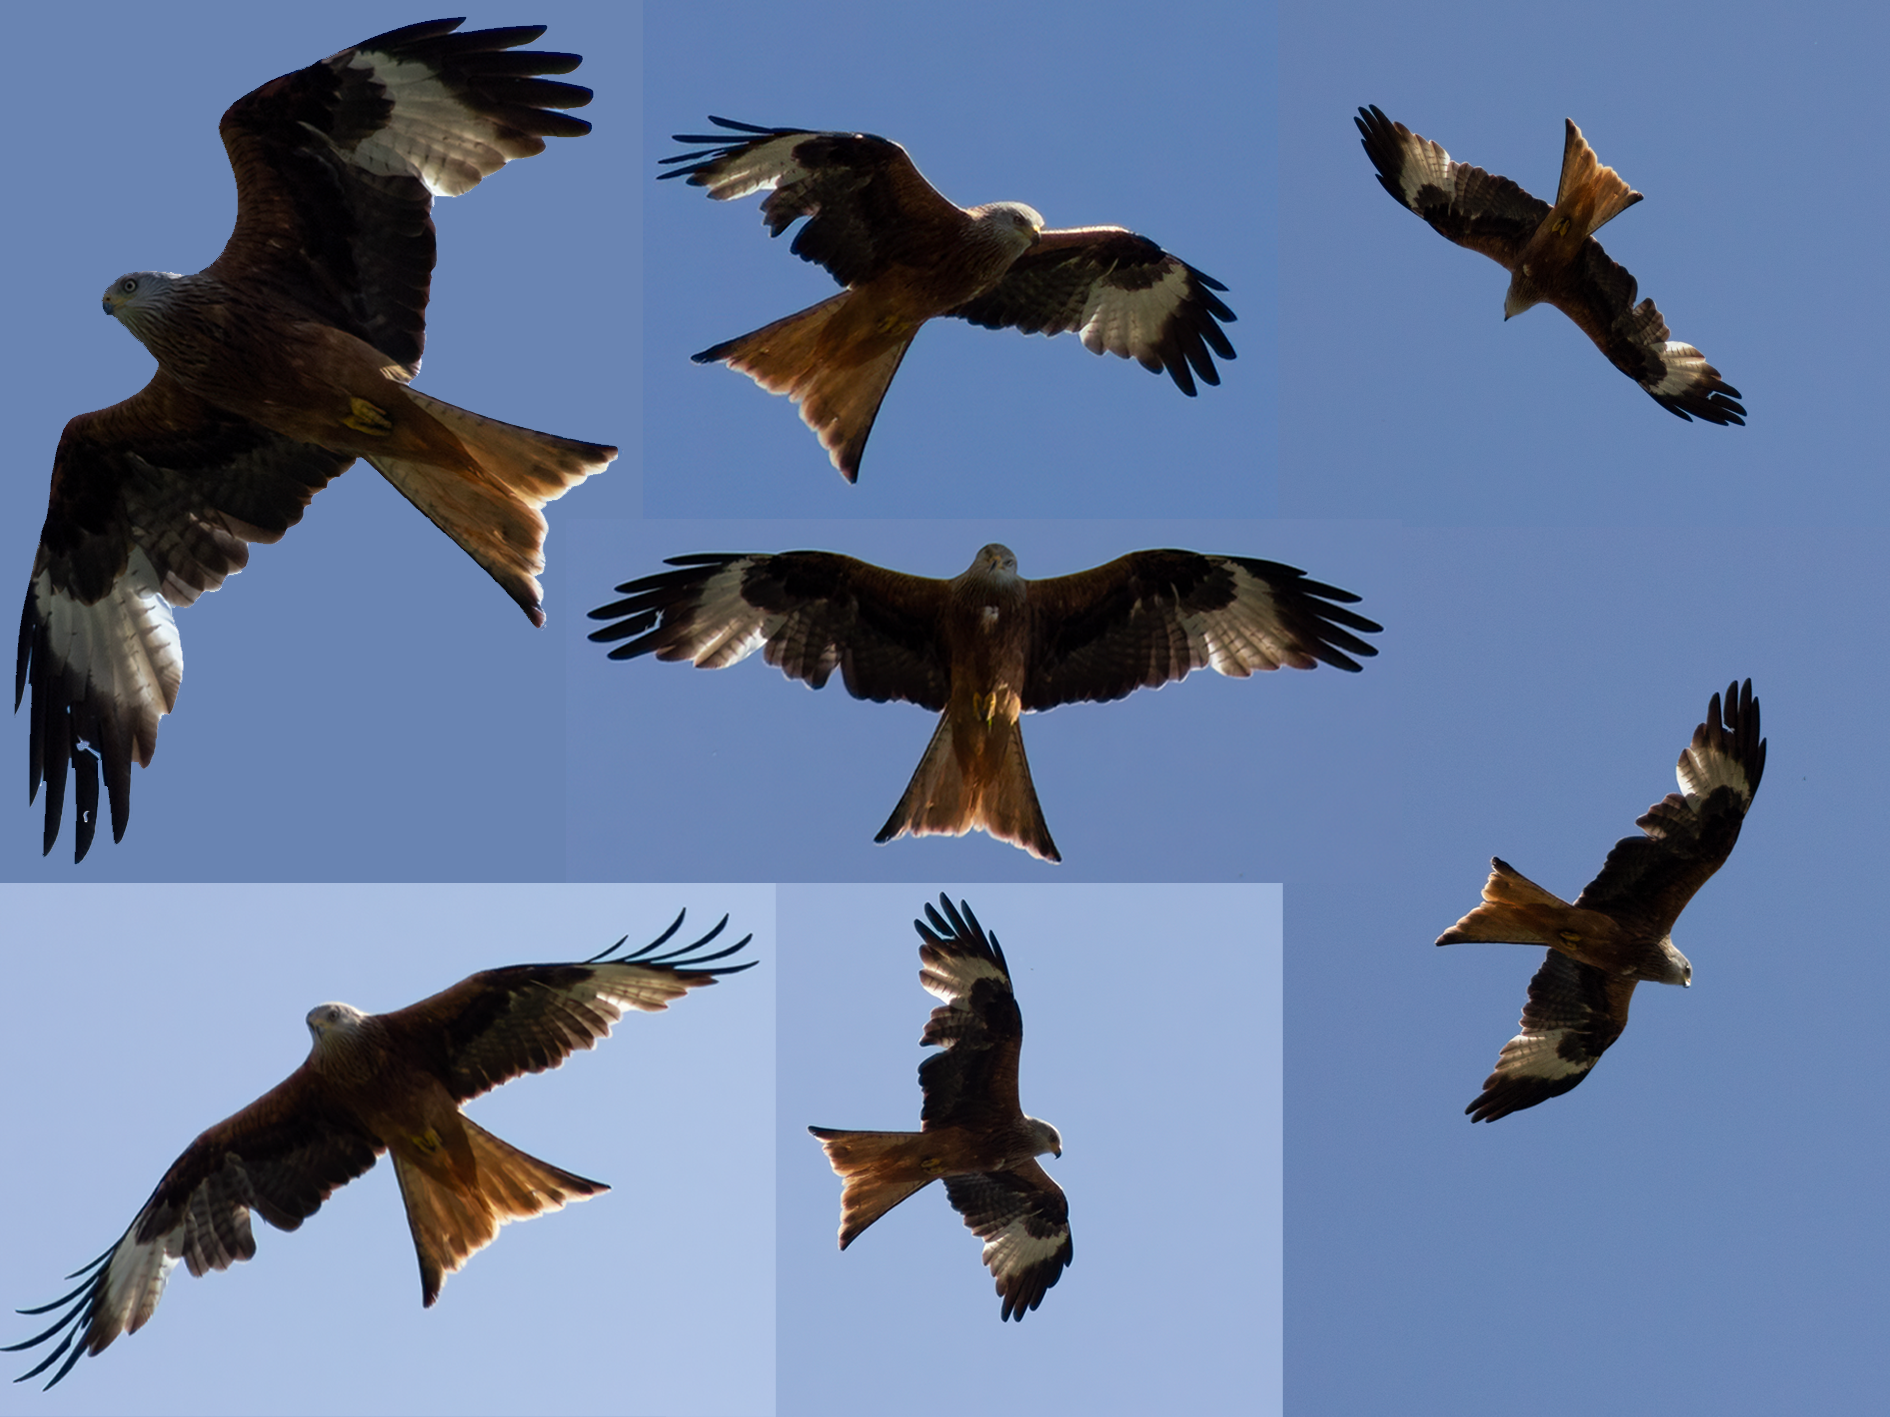
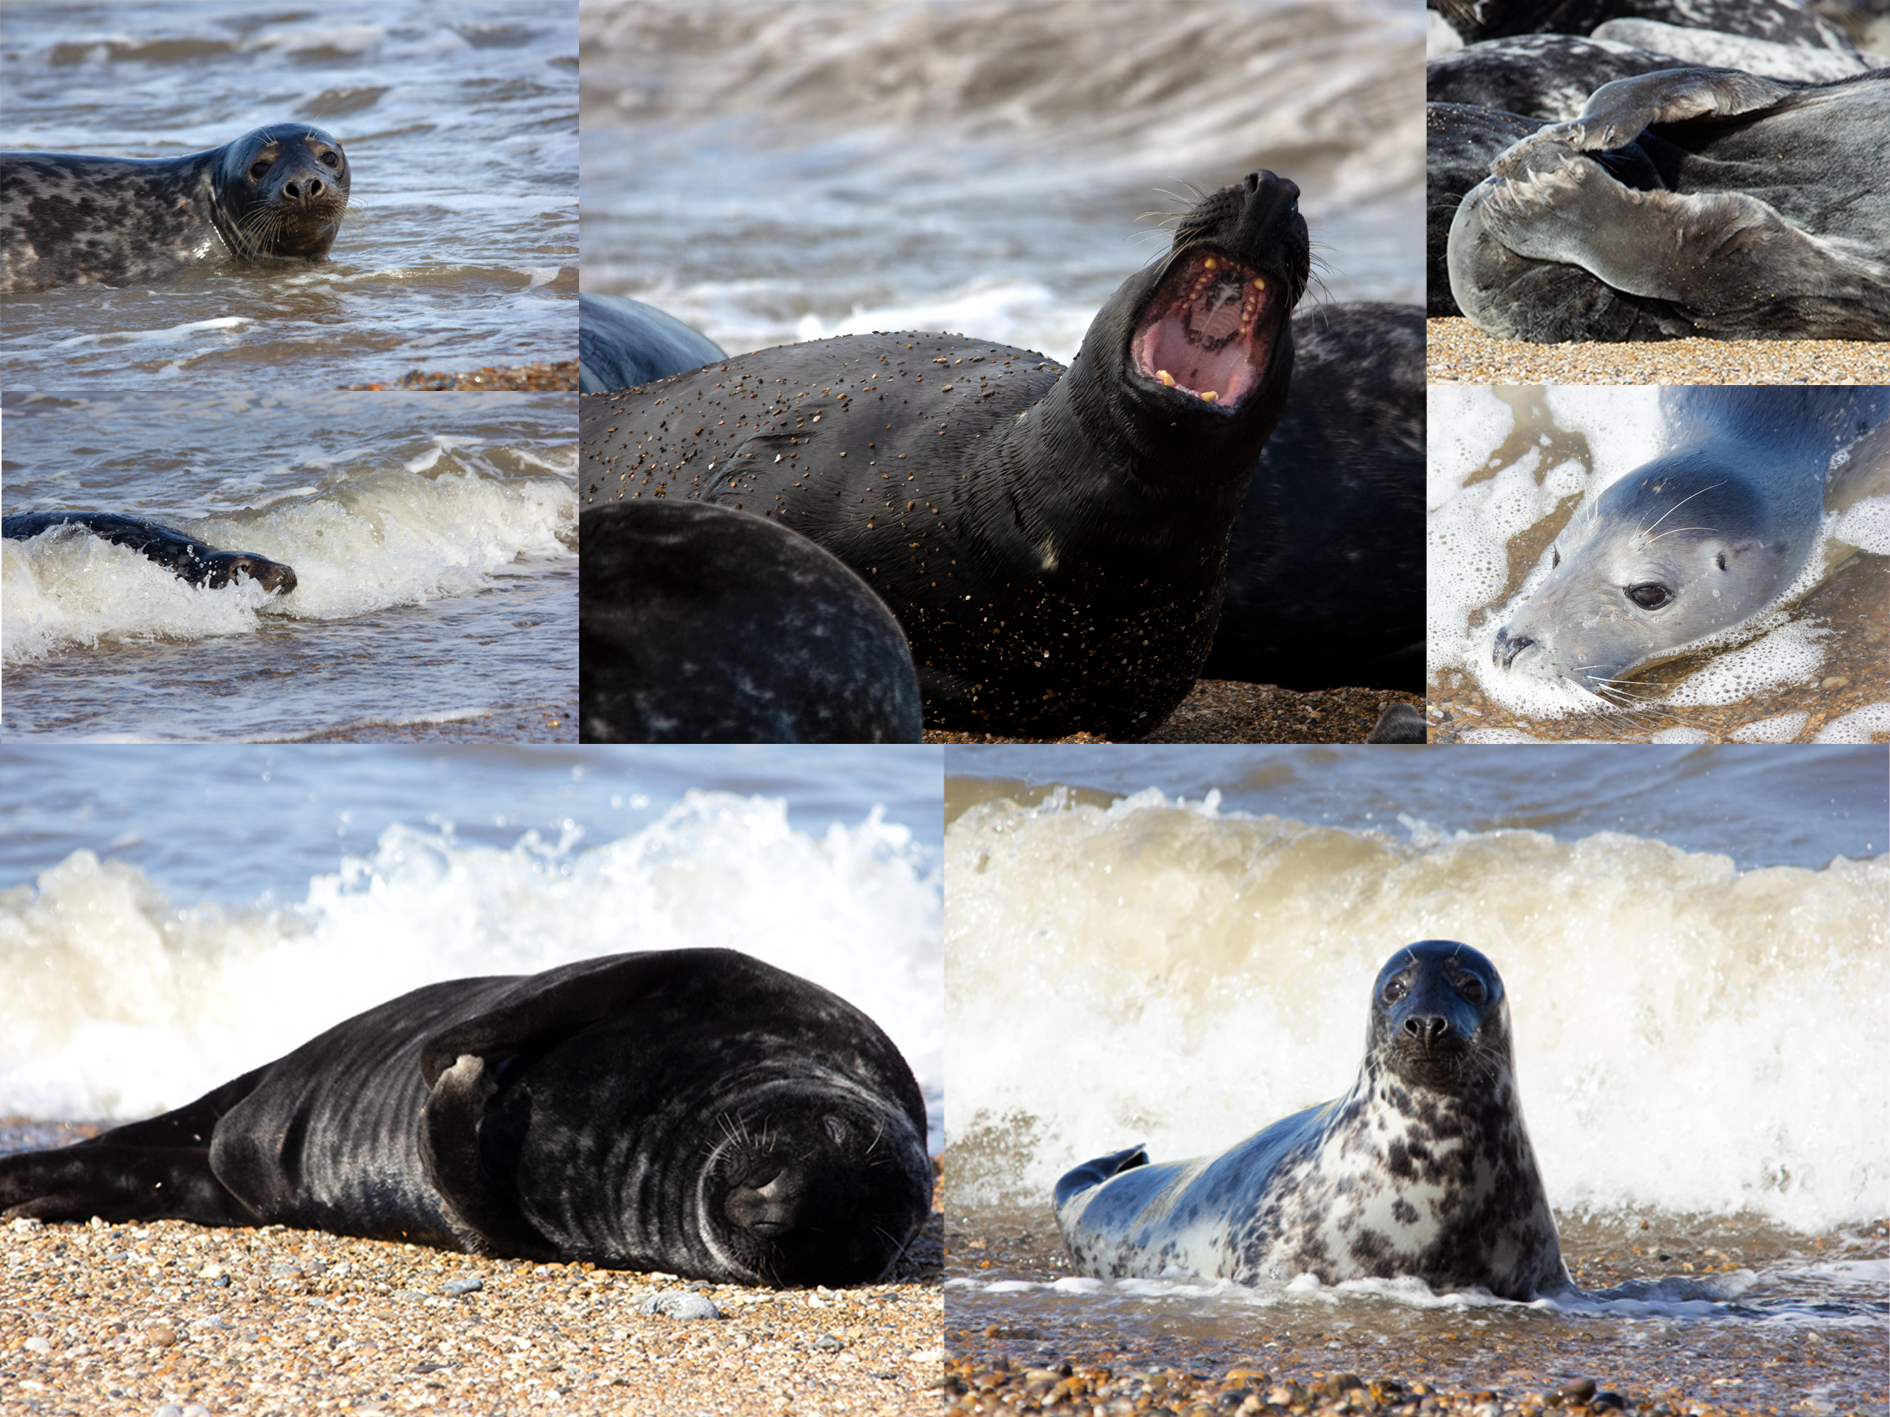
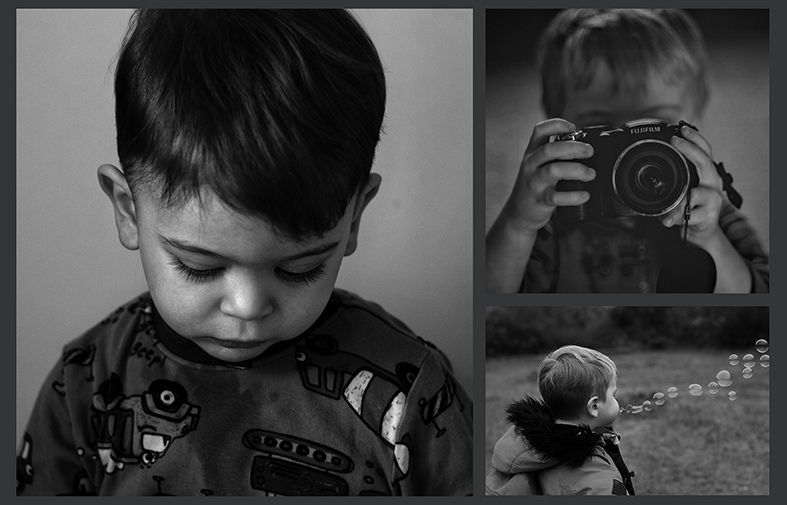
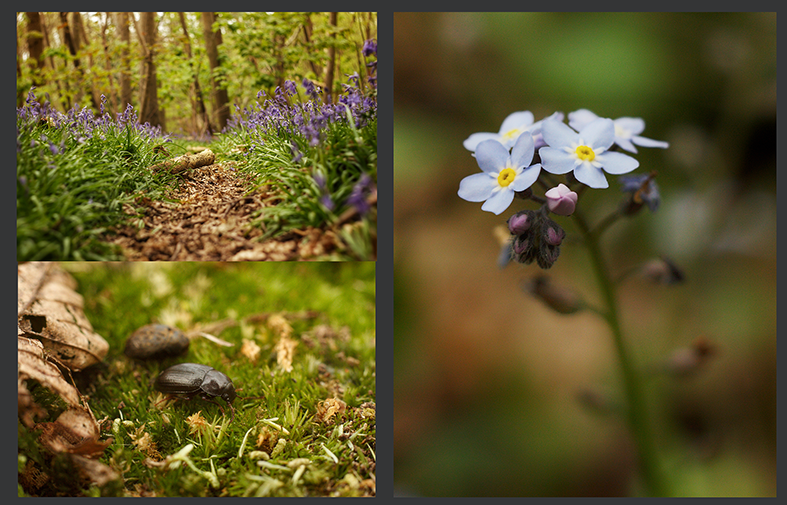
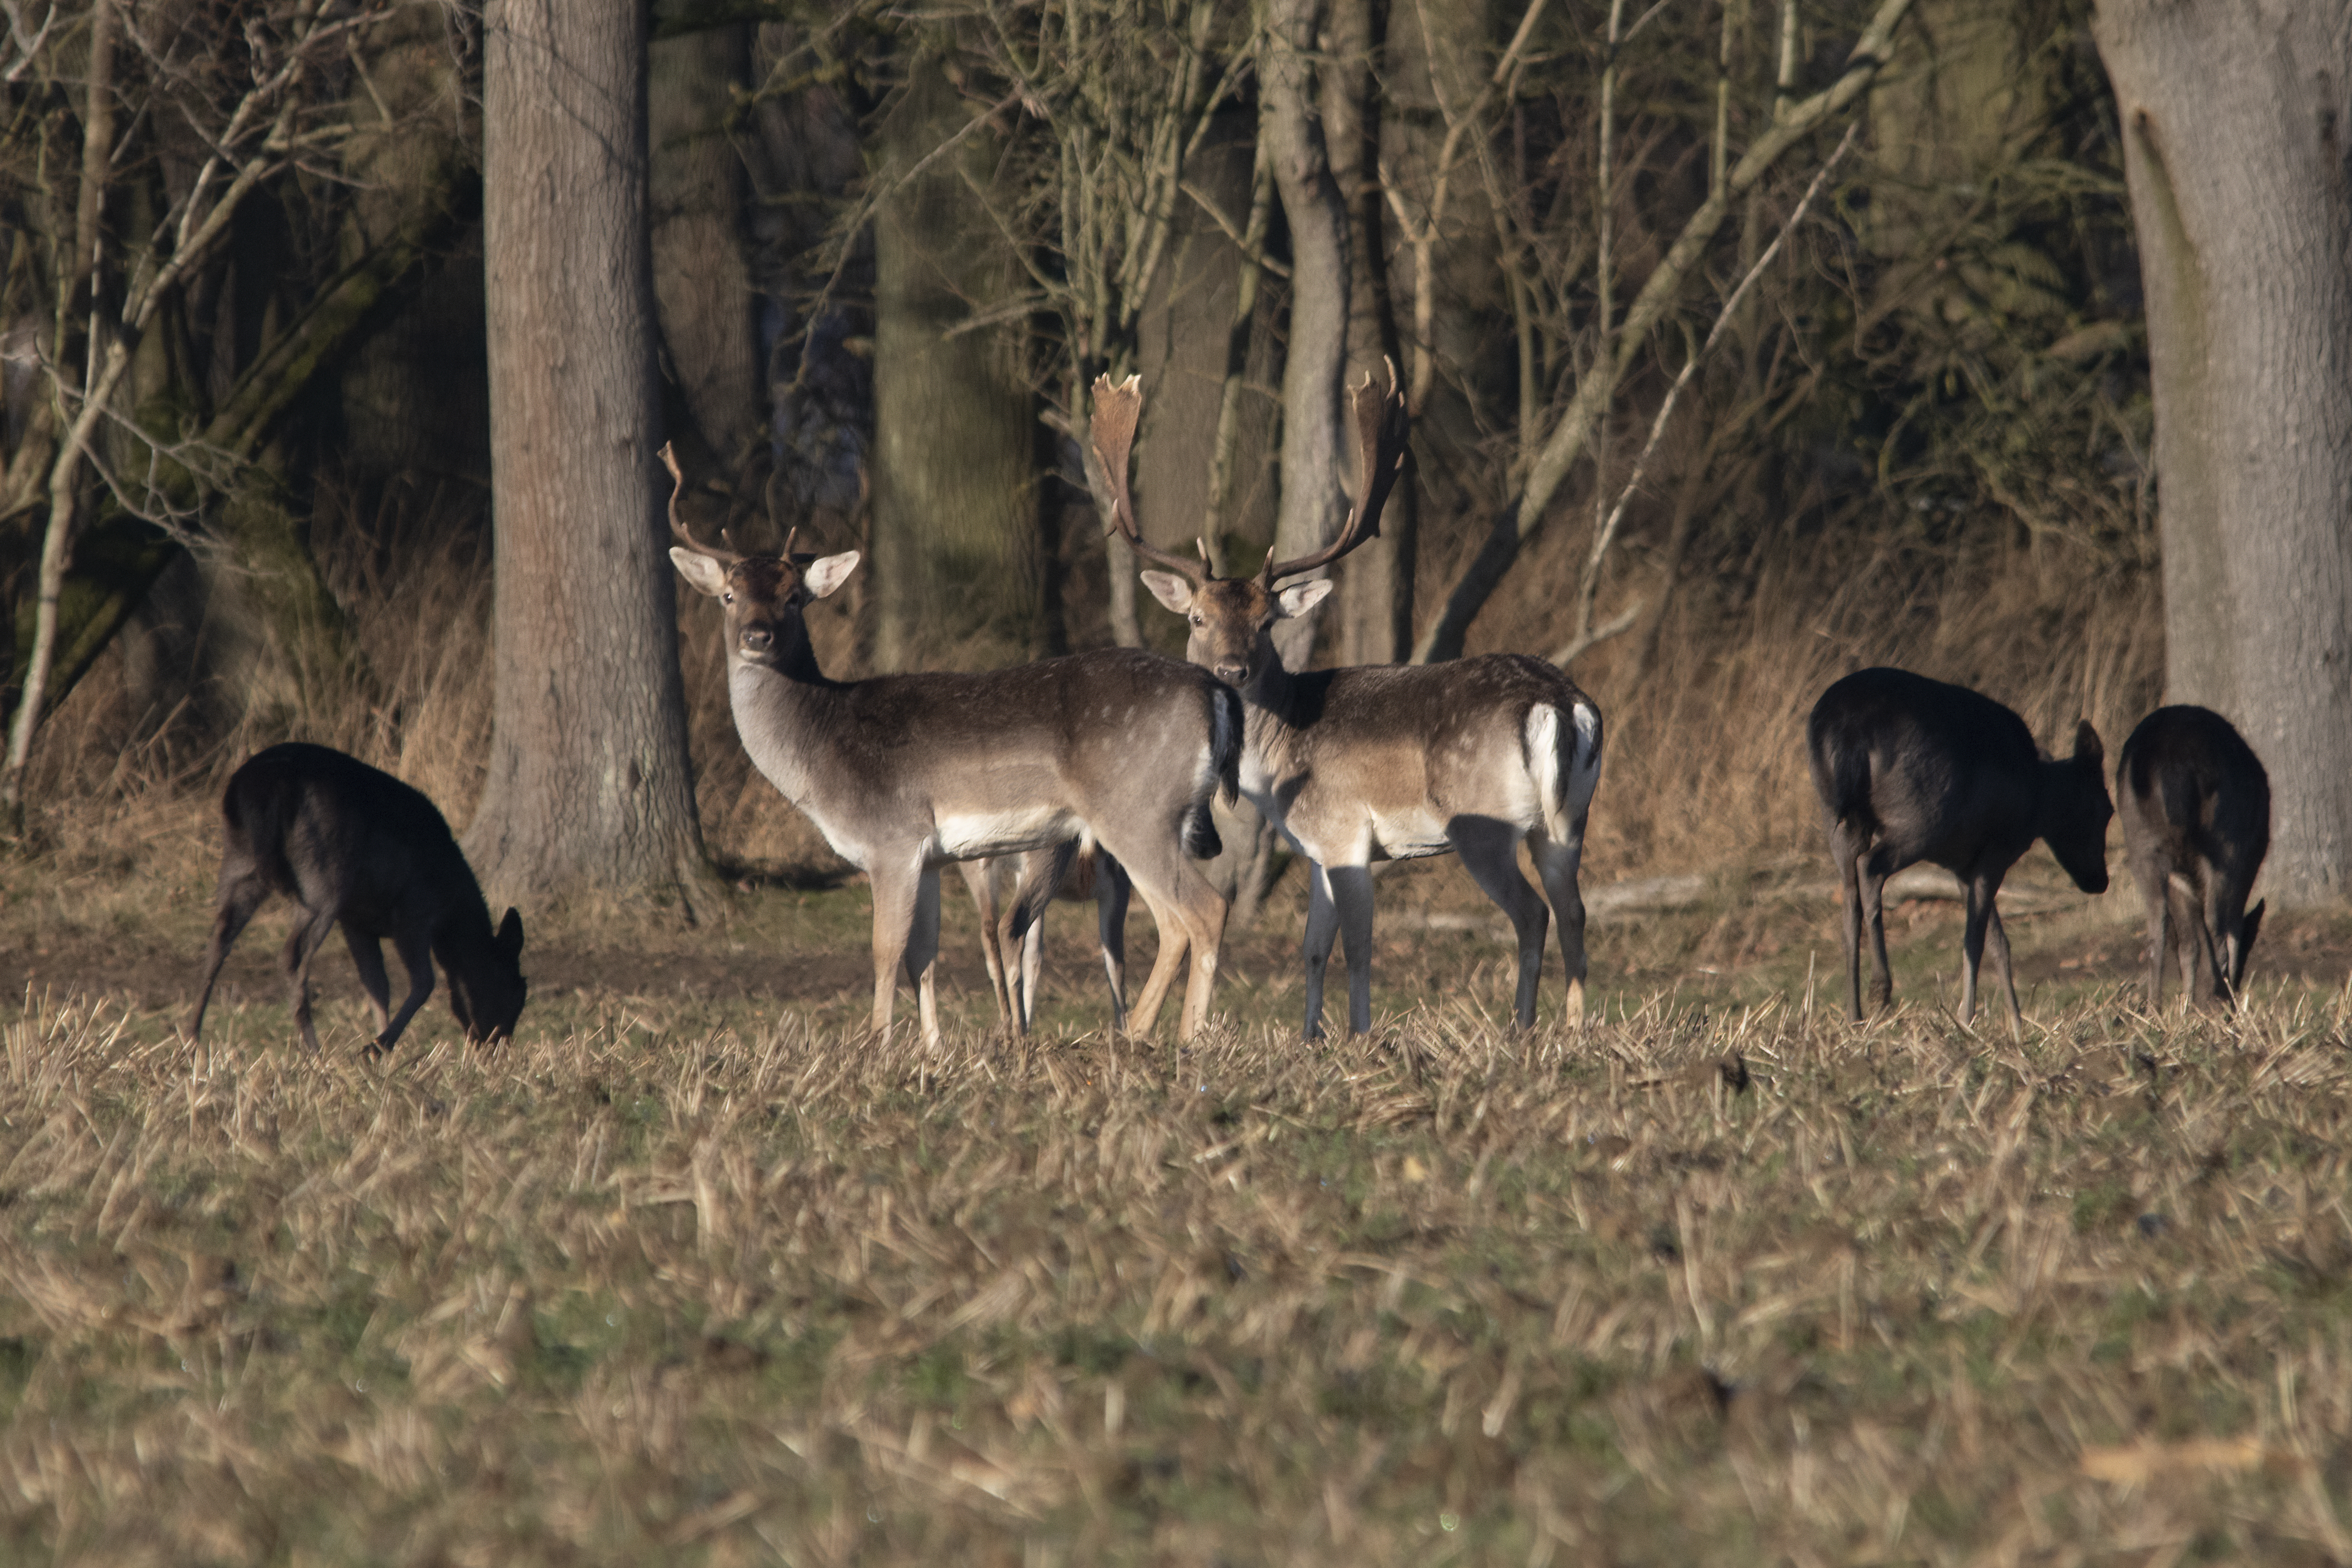
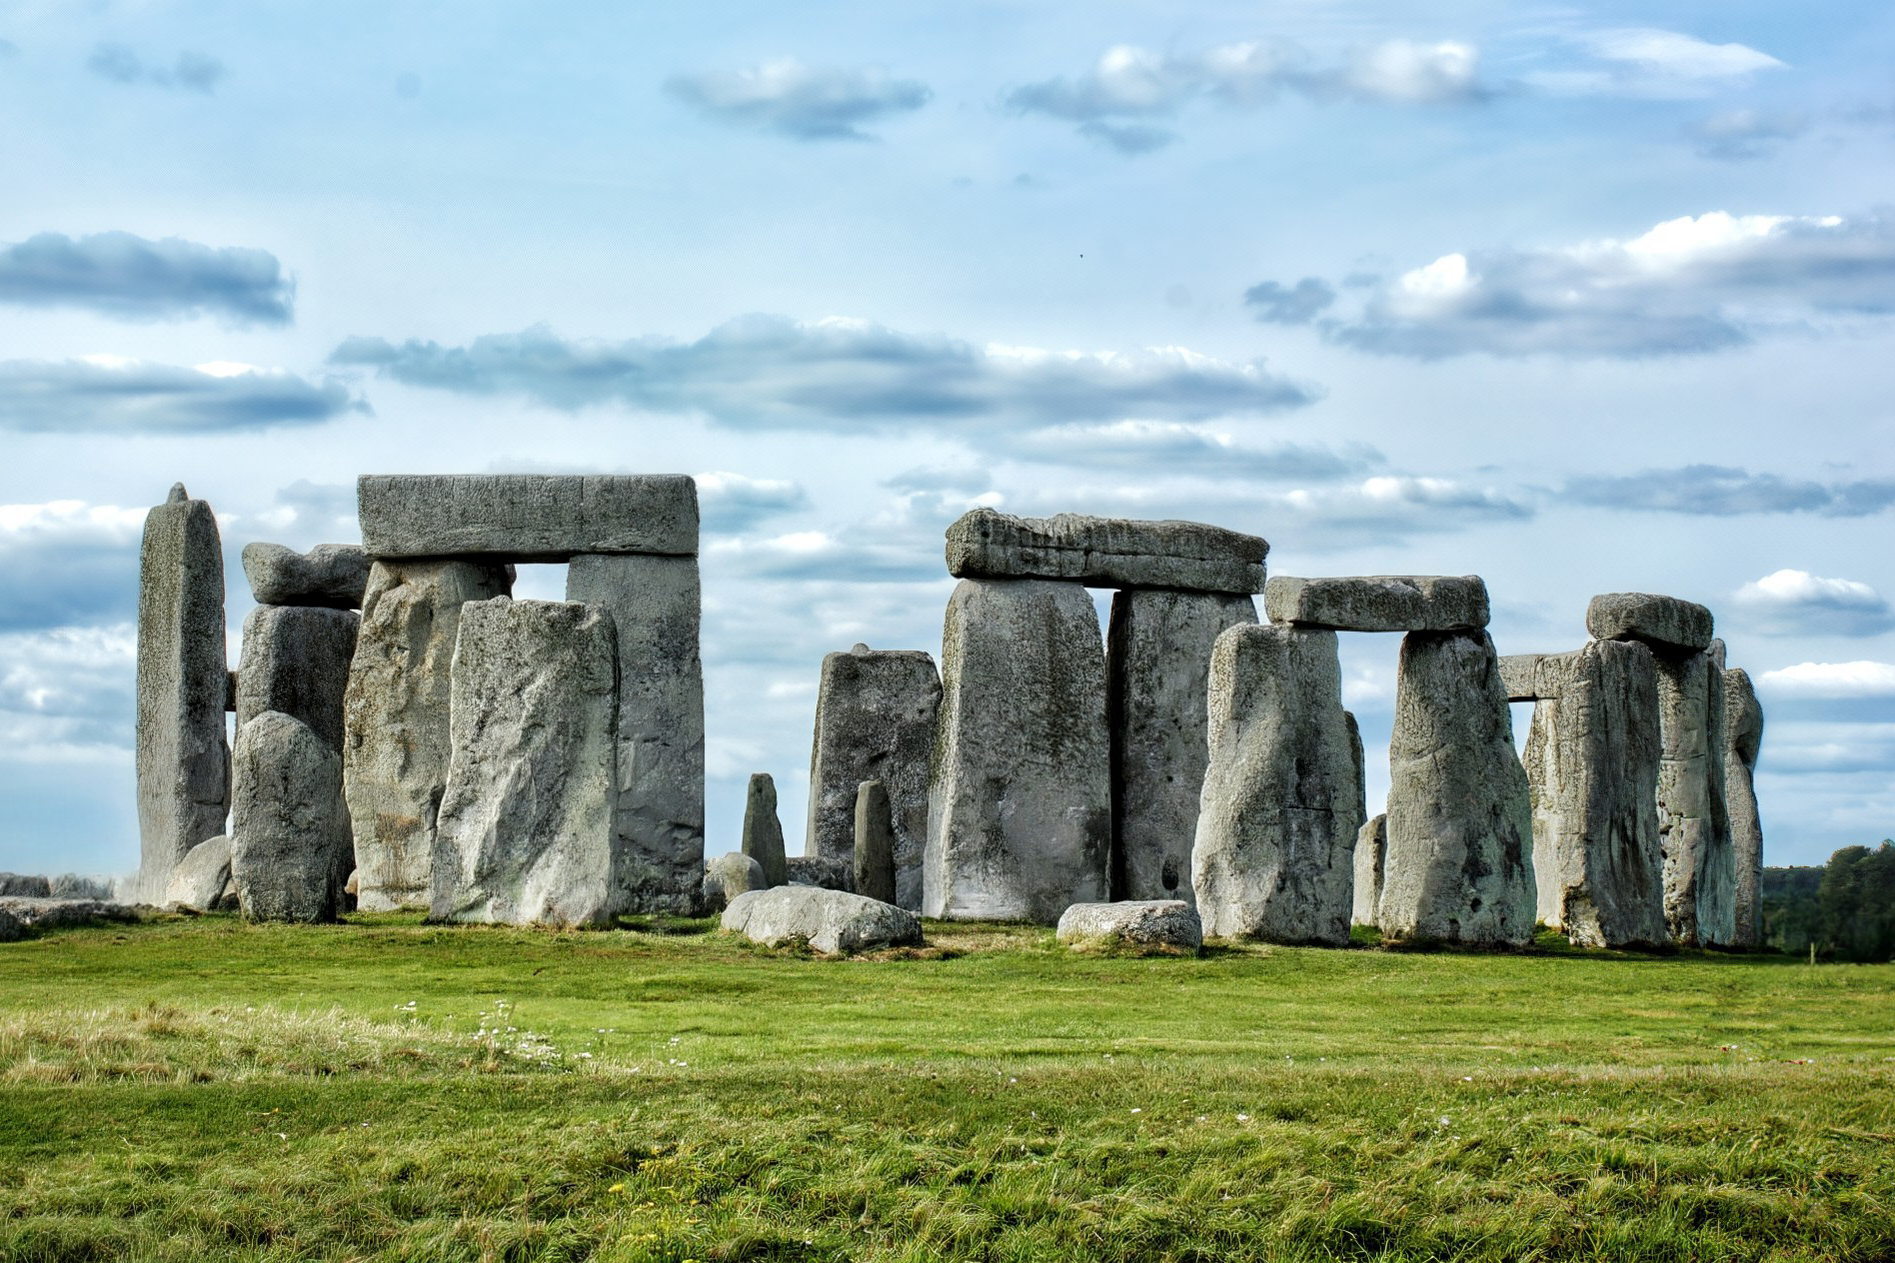
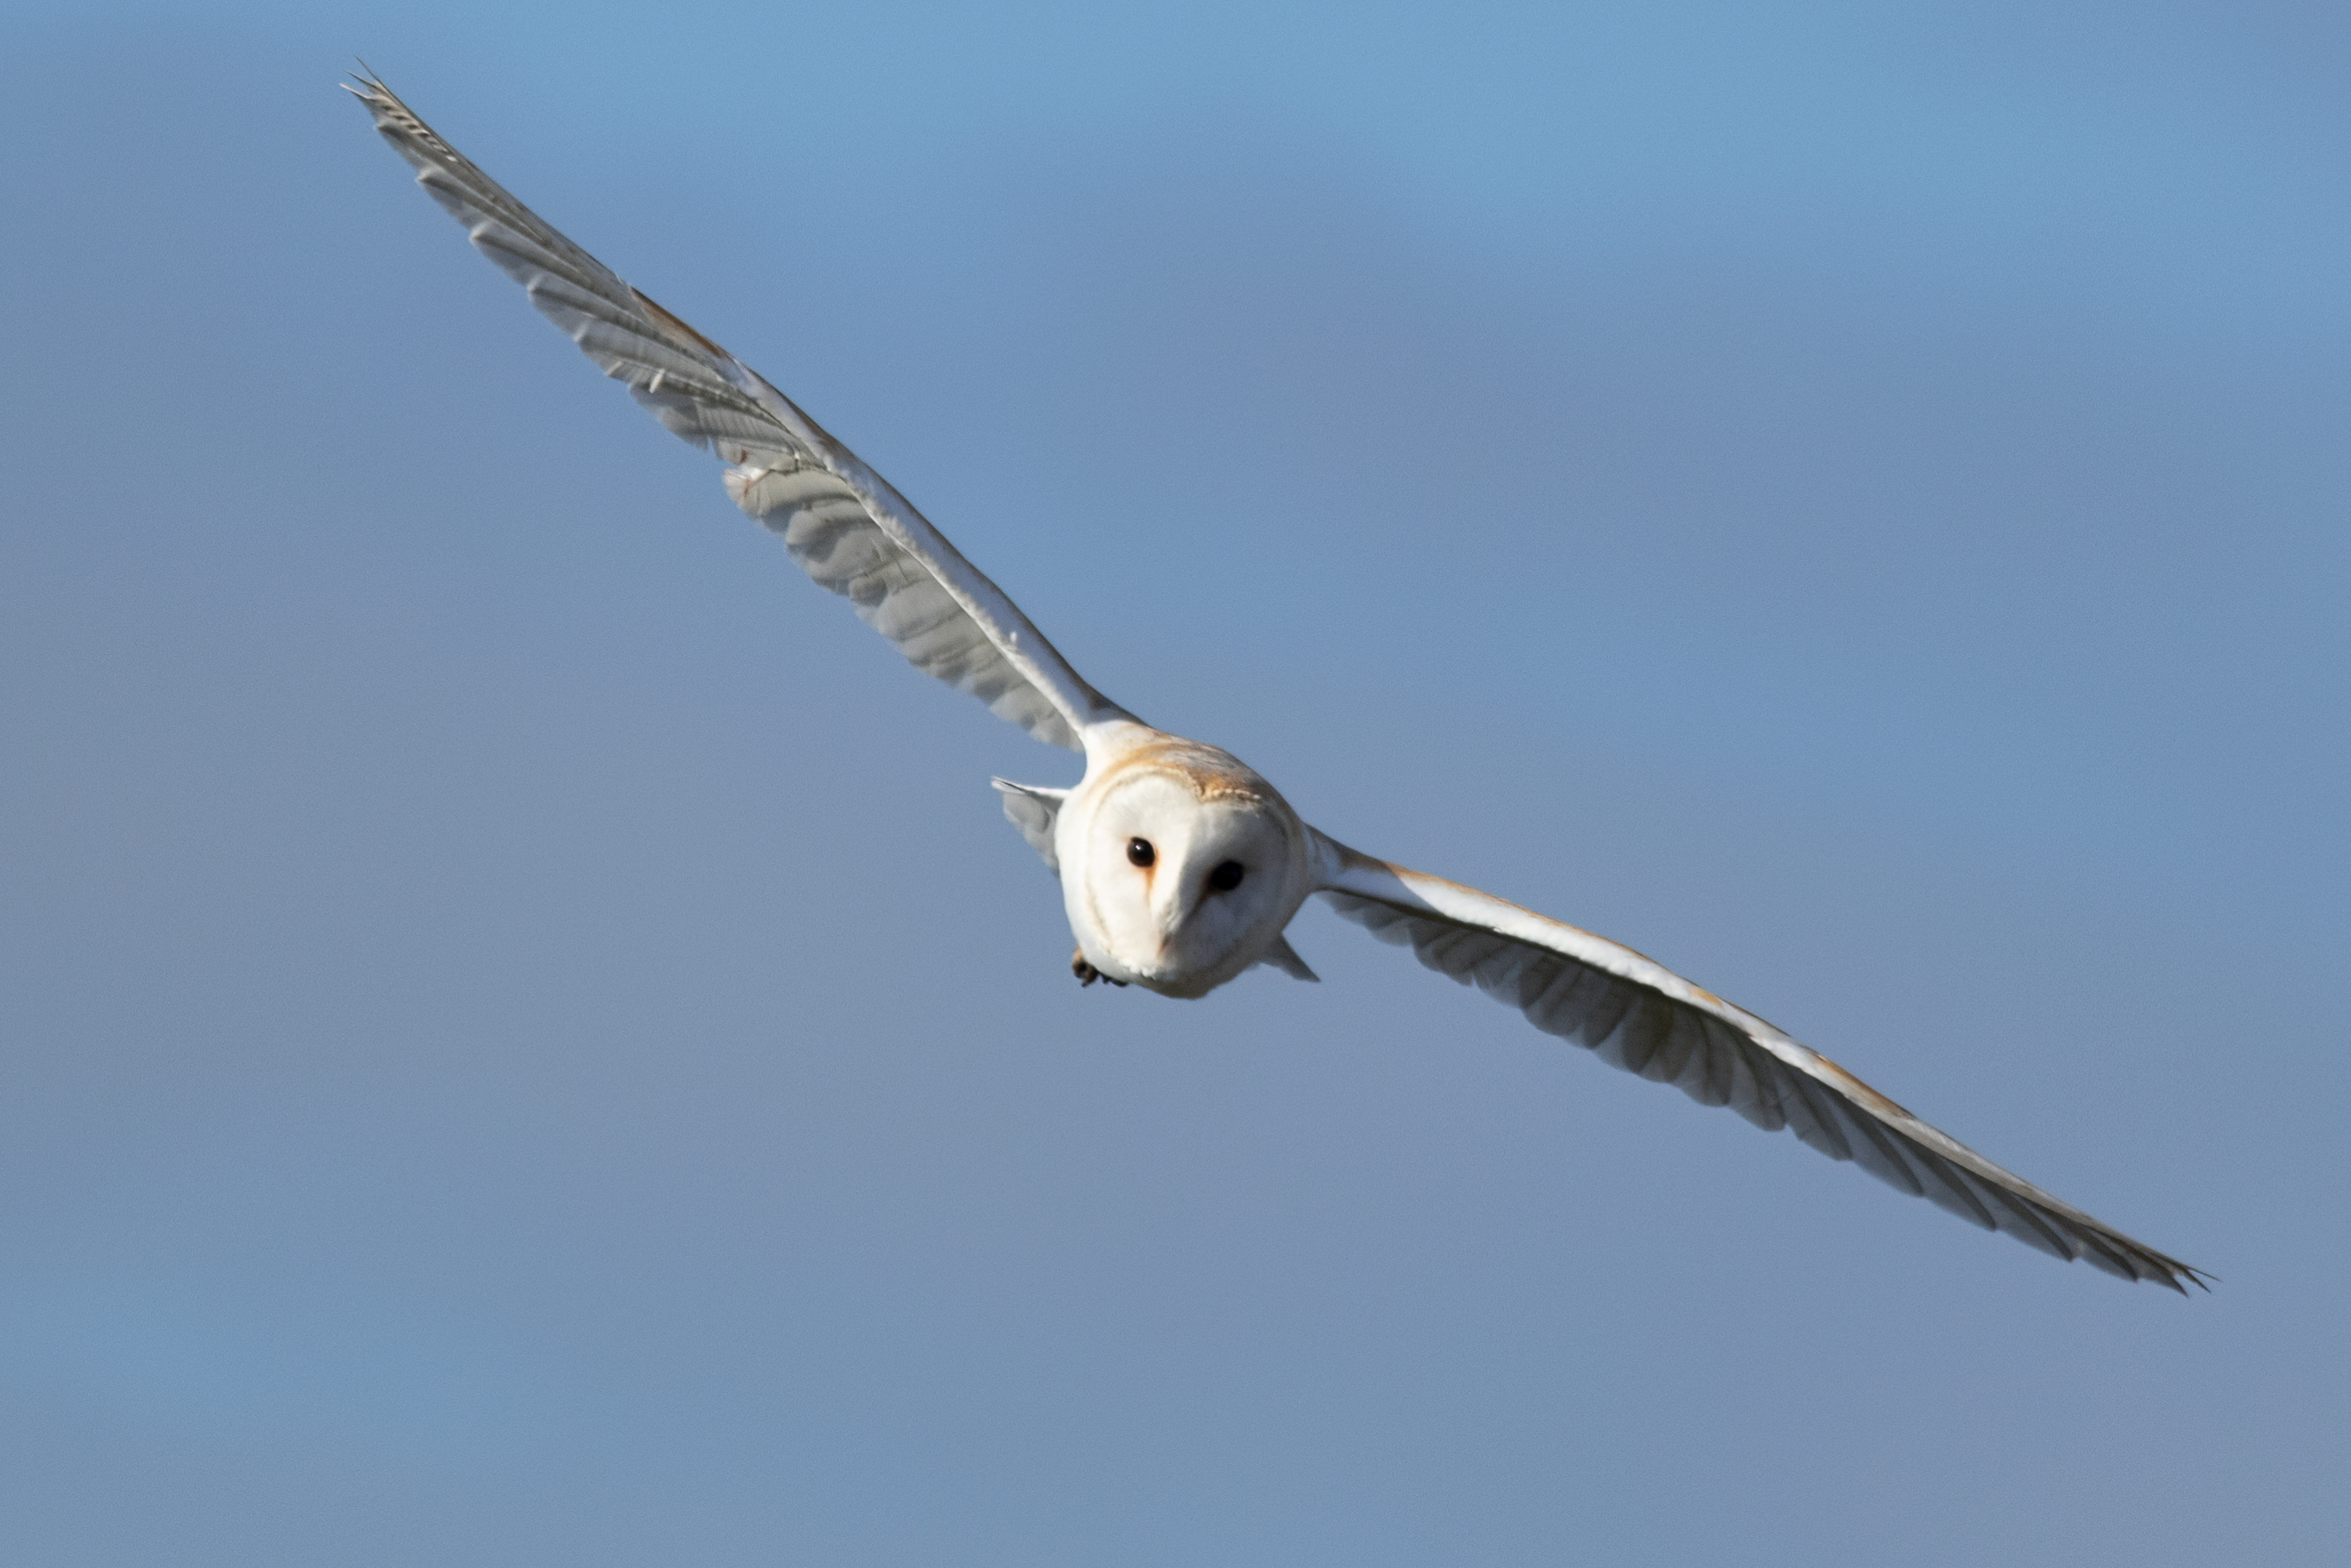
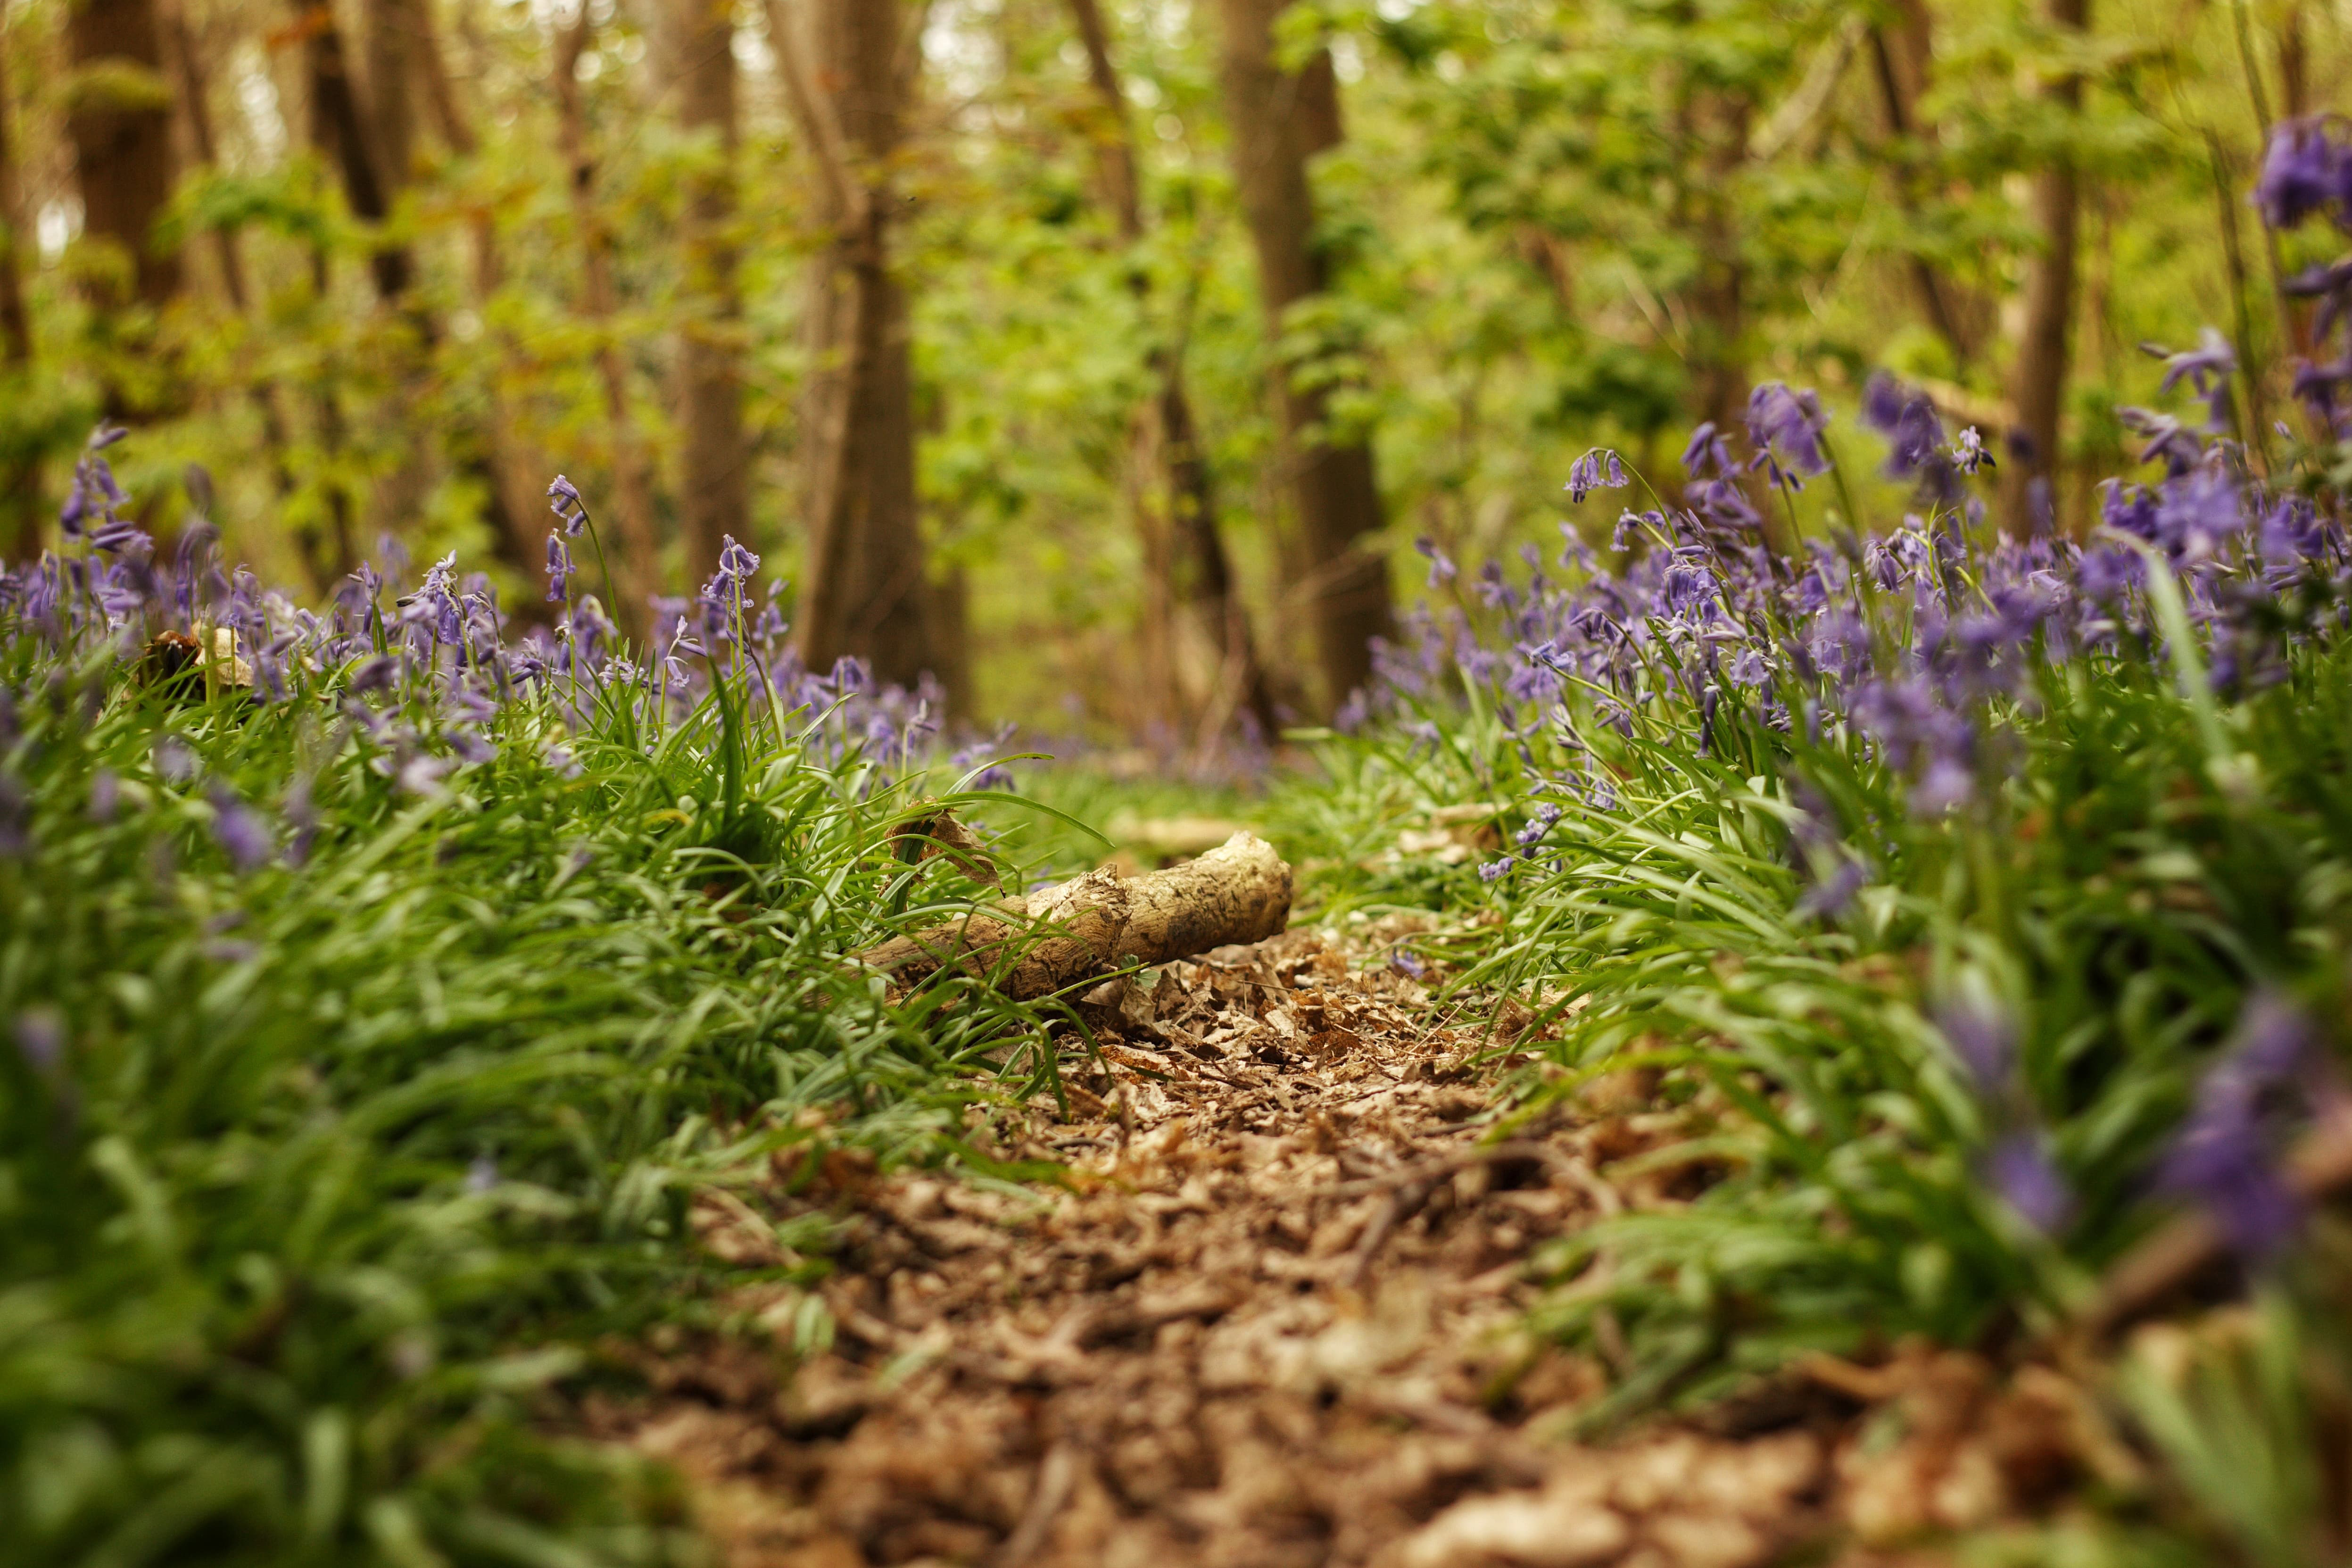
I’m so pleased to have gotten back into photography, especially as astrophotography is near impossible with such long sunny days and short nights. I’ve posted some of best photos below, and I’ll discuss my setups in a subsequent post.

Thanks for reading,

Jack

Collage of Photographs
Blog Image 1
Blog Image 1
Blog Image 1
Blog Image 1
Blog Image 1
Blog Image 1
Blog Image 1
Blog Image 1

PLACE HOLDER


Thanks for reading,

Jack

Astrophotography Images

Blog Image 1 Blog Image 1

Astrophotography #3 – 11/01/2024

After getting somewhat comfortable with the basics of the telescope and camera I wanted to see if I could control the camera and mount remotely. After a quick google I found a Linux distribution called Astroberry for the Raspberry Pi, I immediately flashed it to an SD card and inserted it into my Pi 4B.

Astroberry is specifically designed for astronomy use and device control. It comes bundled with various navigation applications and facilitates remote access to your astronomy equipment. Once setup, the Pi would be connected to my local Wi-Fi network and be functioning as a remote server, the Pi will be plugged into the camera or mount, device control would be handled by an application running on the Raspberry Pi, I would then connect to the remote Pi server using my PC or phone to access the application and control my devices.

After installing Astroberry I followed an online tutorial for the setup process. All seemed well until it came to the mount control. You must manually select drivers to control the camera and mount, I googled which drivers were needed for my specific devices but unfortunately the mount drivers didn’t work. I tried multiple drivers, connecting the Pi directly to the mount, connecting the Pi to the handset, updating the handset firmware, installing a different application to handle the mount control, and finally a fresh install of Astroberry. After a lot of time spent googling, it seemed to be a common issue with my mount, and nobody seemed to have a solution.

For the time being I gave up on the mount control and decided to see if I could get the camera control set up. With the drivers installed I plugged in my camera, and it was ready to go! I decided to test the Astroberry server in the garden and I found that it was rather slow and would drop connection due to a weak Wi-Fi signal. I spent some time seeing if I could improve the connection but decided to call it quits for the time being and find another solution for camera control.

I found a popular program called Astrophotography Tool (APT). APT doesn’t require an internet connection to operate which made it perfect for my situation. APT was very quick to set up on my laptop and is feature rich. APT allows me to record in manual mode with 5x zoom which is necessary for planetary lucky imaging for my model of camera, which is very handy! The only downside is that I must take my laptop in the garden which is much larger than a Raspberry Pi.

I’m happy to have found a solution for the camera control though I aim to have another look at the mount control using a different approach in the near future. For now, I think I’ll stick to improving my astrophotography. I’ve included a collage of images of some recent astro shots and an image of APT running on my laptop.

Thanks for reading,

Jack

Collage of Astrophotography Images
Blog Image 1

Astrophotography #2 – 04/01/2024

Once I had familiarised myself with the alignment process and the functionality of the telescope and GoTo mount, I wanted to take a few test shots with the camera connected to the telescope. So, I took a few terrestrial shots in daylight to check everything was working as it should before I attempted my first astrophotography shots.

The first night I took the camera out I realized that I was suffering from information overload, and I wasn’t as proficient with the telescope as I had first thought. So, instead of taking multiple long exposures of DSOs I decided to start with planetary photography. The Andromeda Galaxy is very hard to find from my location (for me, at least) and that was my original target, but I decided to take a step back and start with something clearly visible and easy to locate, Jupiter.

All my research up until that point had been on how to photograph DSOs, so I took a few test shots of Jupiter with varying exposure times and manual settings, unaware that this was not the best way to take planetary images. My first image came out over exposed, but it was an image of a planet (and four of its moons) taken through the telescope with my camera, so I deemed it a success and saw it as a base from which to work from.

After multiple cloudy nights I finally managed to get back out in the garden, this time armed with some planetary photography knowledge. The approach for planetary photography is often different from that of DSOs; planets such as Jupiter are much brighter than galaxies or nebulae therefore, they don’t need the long exposure times. My approach this time would be to shoot videos of varying lengths (2-3 minutes) in the hopes of getting ‘lucky’ with some of the frames, this is a process called Lucky Imaging. The frames of the video are put into a stacking program which chooses the best frames and stacks them on top of one another to create a more detailed image.

I managed to get a few reasonable videos; however, they were unfortunately out of focus. Since then, I’ve learned techniques for focusing the camera while it’s attached to the telescope. Afterword, I used a program called PIPP to convert the videos, allowing me to import them into the stacking software Autostakkert. Using Autostakkert I identified the best images from the video and stacked them. This produced the clearer image of Jupiter seen below, which I am very pleased with for a second attempt!

My final image from the collage below was a single short exposure shot of the moon. I’m also going to try a video of the Moon and use lucky imaging to see if I can get an even clearer image in future. I’m also keen to get back out to have another go at Jupiter now I have learnt some new techniques for focusing the camera correctly.

I’m very pleased with my progress so far, and eager to get back out and put some of the new techniques I’ve learned into practice, just need to wait for the clouds to clear off!

Thanks for reading,

Jack

Collage of Astrophotography Images
Blog Image 1

Telescope Setup
Blog Image 1

Astrophotography #1 – 03/01/2024

I’ve always been interested in space; there’s something special about stargazing on a clear night, observing the many distant stars and planets scattered across a pitch-black sky. Besides my impromptu stargazing sessions, I had very little understanding of the cosmos. Recently, my eldest son and I have started learning about the solar system together. This, in turn, has piqued my interest in space and has led to me to my next project - astrophotography.

Fortunately for me, my dad already had a Sky-Watcher SkyMax 127 GoTo telescope that I could borrow. With the telescope sorted, I began searching for a budget-friendly camera suitable for astrophotography. I spent a lot of time scouring astro forums in search of the best budget camera for the job, and after many hours of research I settled on the Canon 600D DSLR (Rebel T3i). Mainly due to the 600D having an articulating screen, Live View Mode, compatibility with Magic Lantern Custom Firmware, and a great price (£71 for the camera body). Finally, I ordered a T-Ring & T-Mount adapter to attach the camera to the telescope and I was ready to go!

My end-goal is to photograph deep sky objects (DSOs), so I set myself the challenging but achievable goal of shooting an image of a galaxy or nebulae, with my target objects being the Andromeda Galaxy and the Orion Nebula.

My first couple of nights of clear skies were spent attempting to star align the telescopes GoTo system. Star alignment is the process of selecting a star on the handheld controller, slewing the telescope to that specific star, and aligning it in the centre of the eyepiece on the telescope, and repeated two-to-three times. Once aligned, the GoTo system allows you to select an object (such as stars, planets, or DSOs) on the handheld controller and automatically slew the telescope to the objects position, it will then track the object as it moves across the night sky.

I ran into a few issues with the alignment process. I had preplanned which stars I would use for the alignment (Capella & Aldebaran) and made sure they were on the star alignment list; I was unaware that the list of stars would change once I had aligned the first star. Once the first star has been aligned, the system may provide a shorter list of stars to choose from. This new list contains the best visable stars for the most accurate alignment, and did not include the star I had a planned to use. After some time searching for another suitable star I settled on Hamal, and finally, I had successfully completed the star alignment. Another issue was identifying the stars I had chosen, I use a stargazing app called Stellarium which allows me to point my phone at objects in the sky and identify them using augmented reality. Locating the stars with the naked eye and on Stellarium was relatively easy but, once I began to use the finder-scope I really struggled distinguishing between stars due to the magnification of the finder-scope. I tried to persevere with the telescopic finder-scope I had, but, in the end, I purchased a red dot scope which has made the whole process far easier.

After a few more practice sessions with the telescope, I was ready to attempt my first astrophotography shot!

Thanks for reading,

Jack

Red Dot Scope (bottom) Telescopic Finder-Scope (top)
Blog Image 1